注册账号
要将jar包发布到maven中央仓库,首先需要在官网注册一个账号
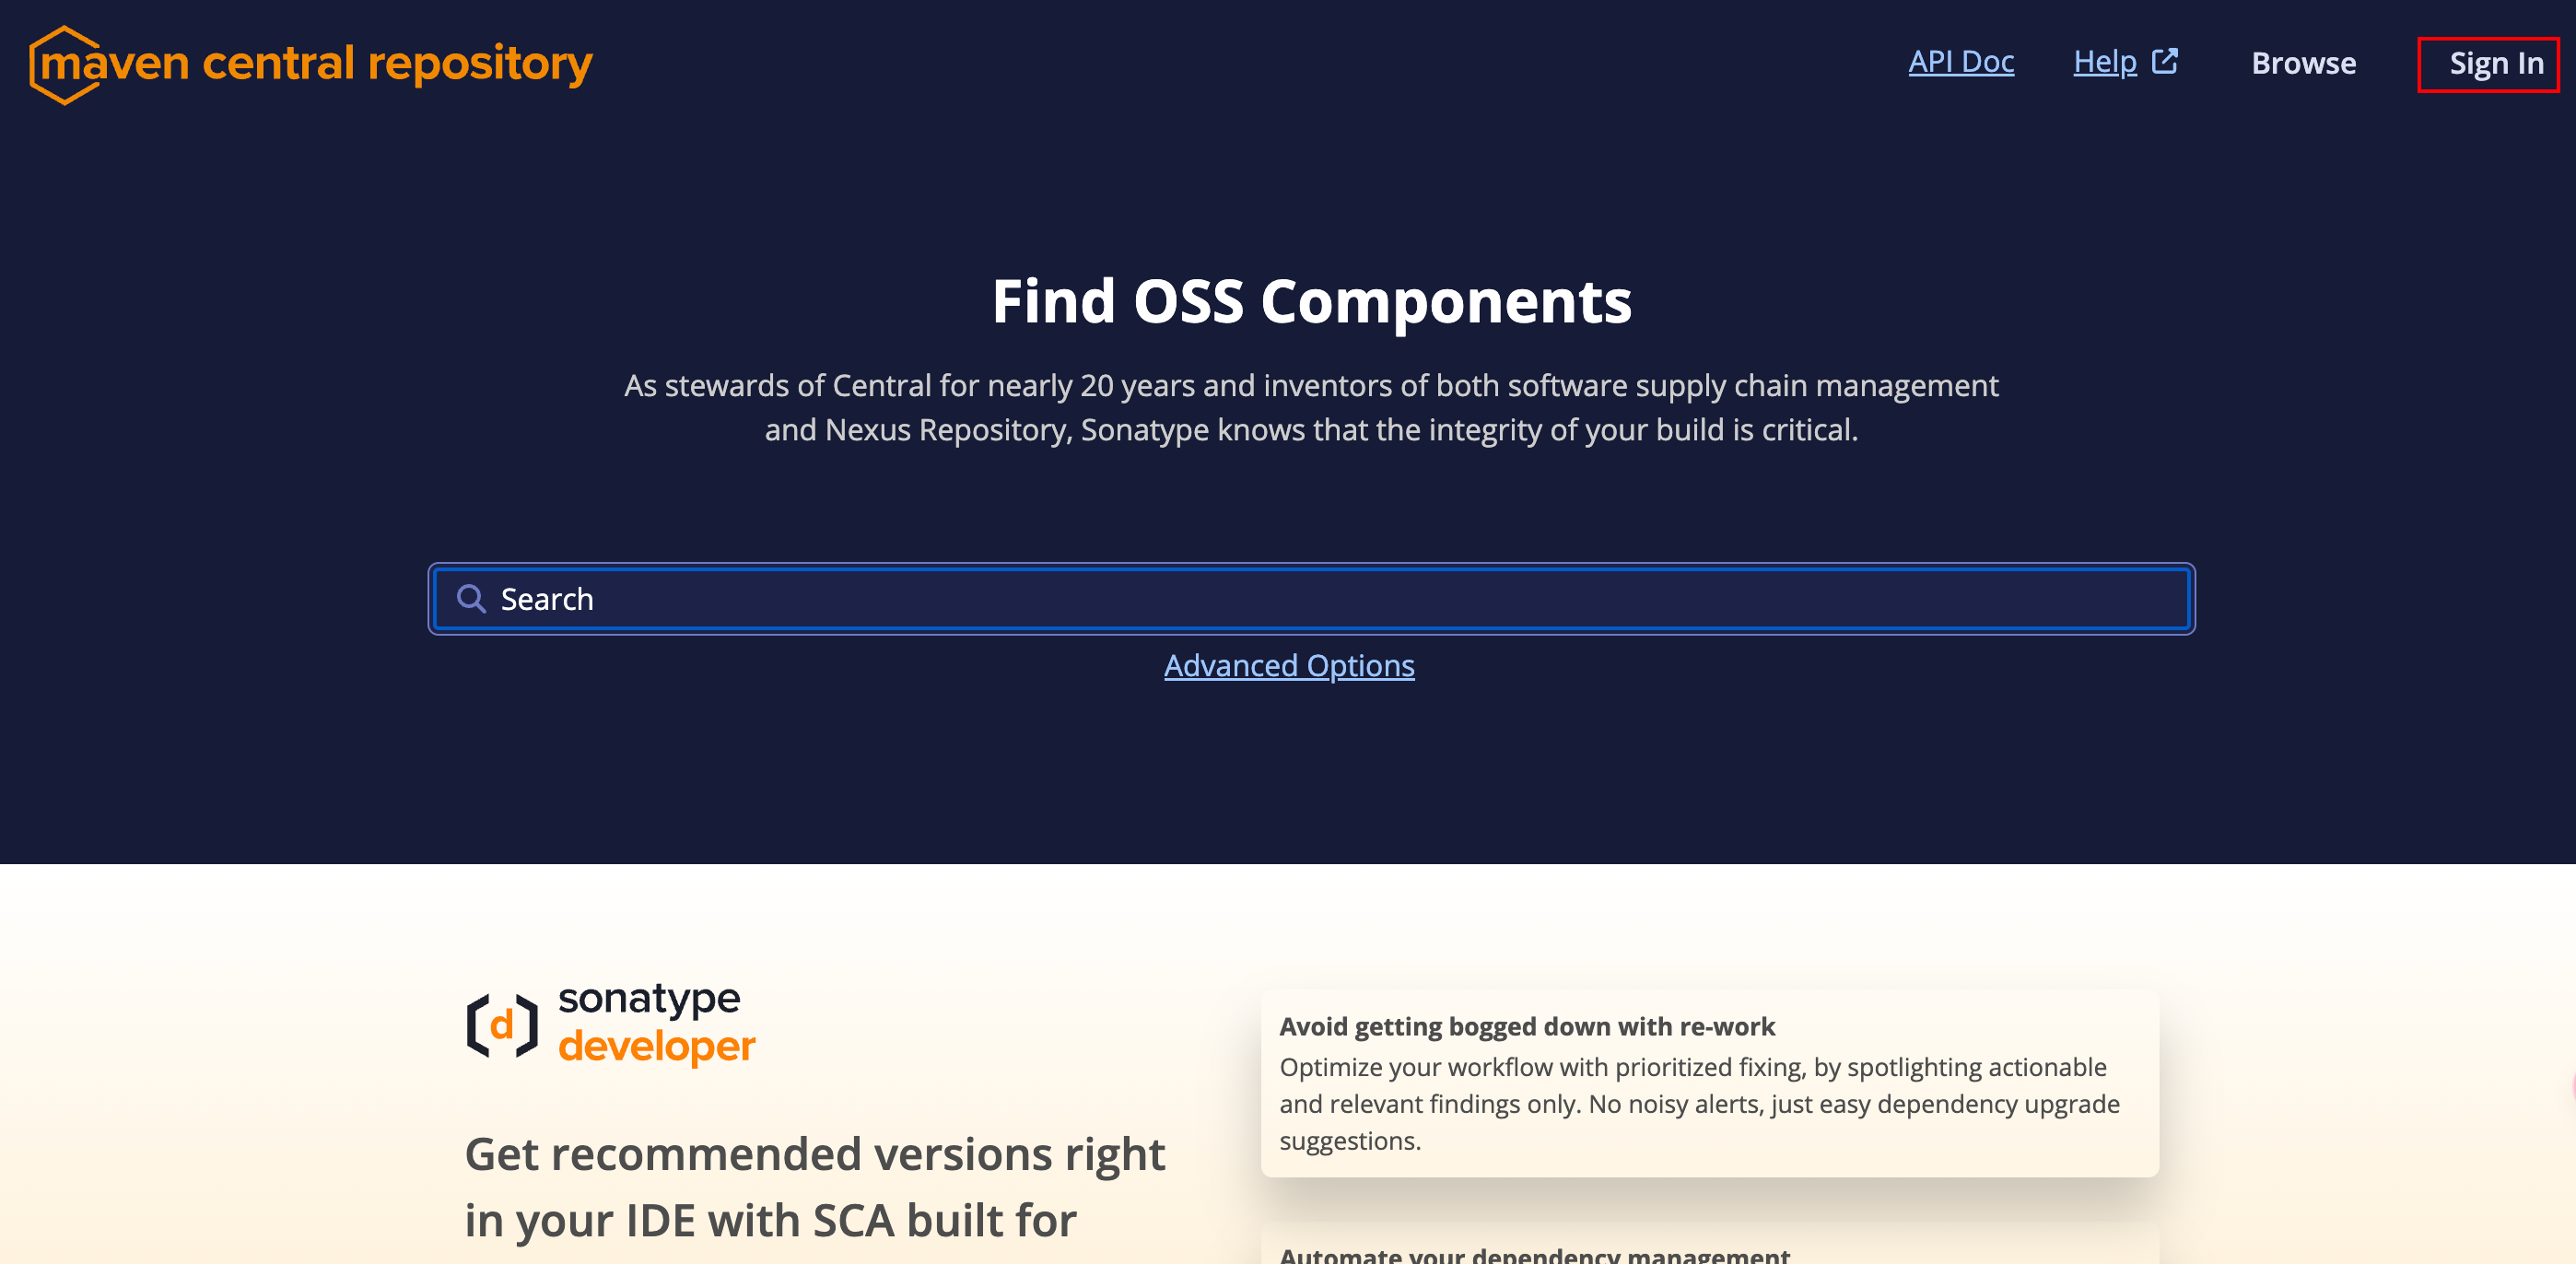
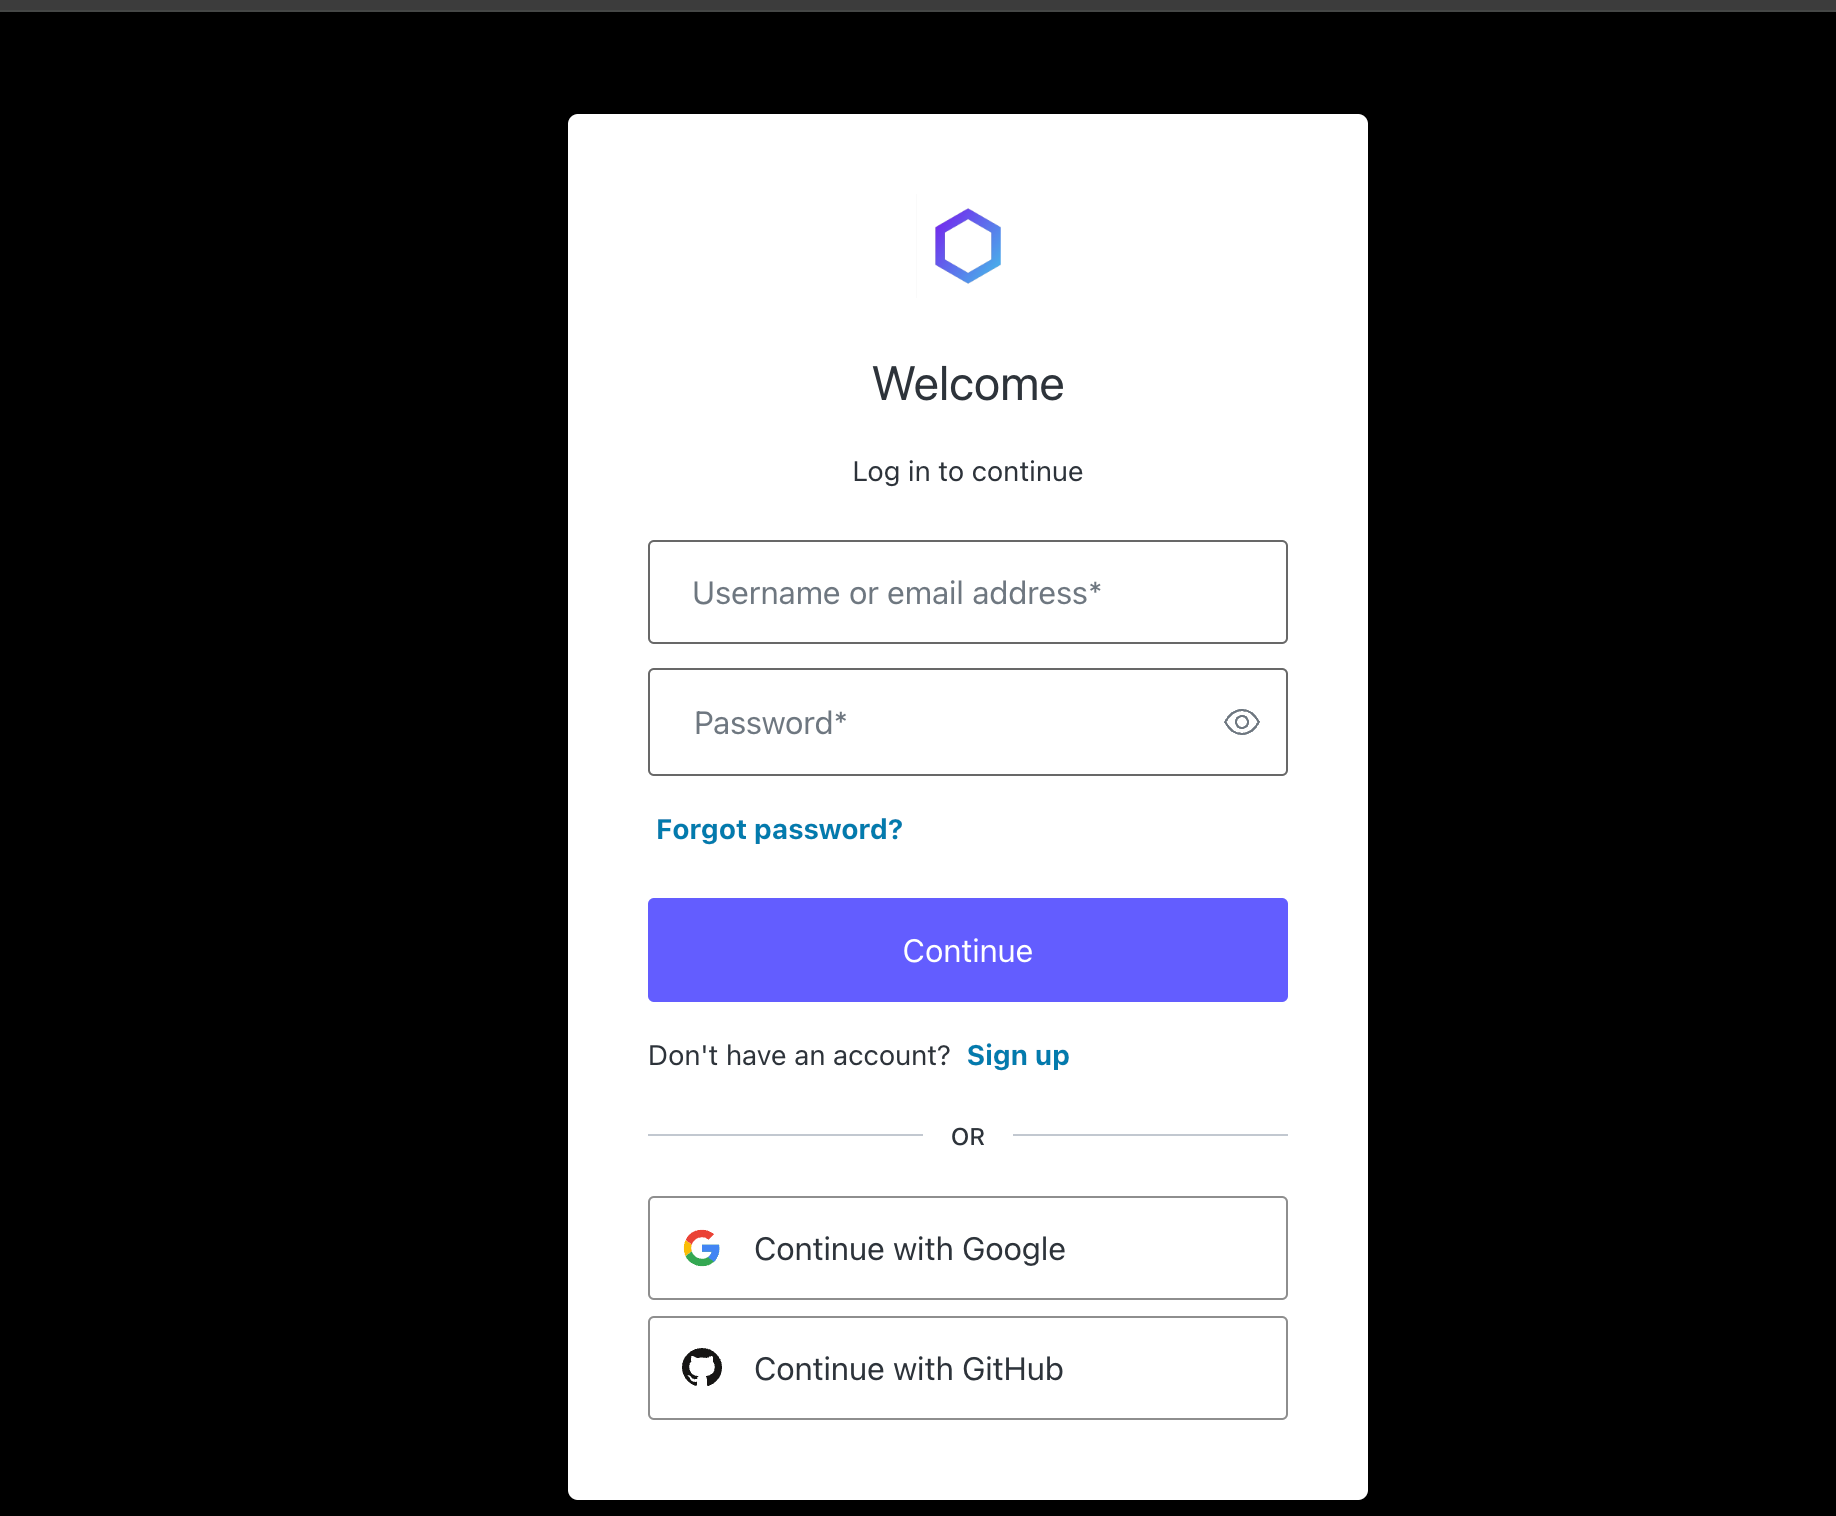
注册好账号之后,登录进去
点击右上角,然后点击View Namespaces
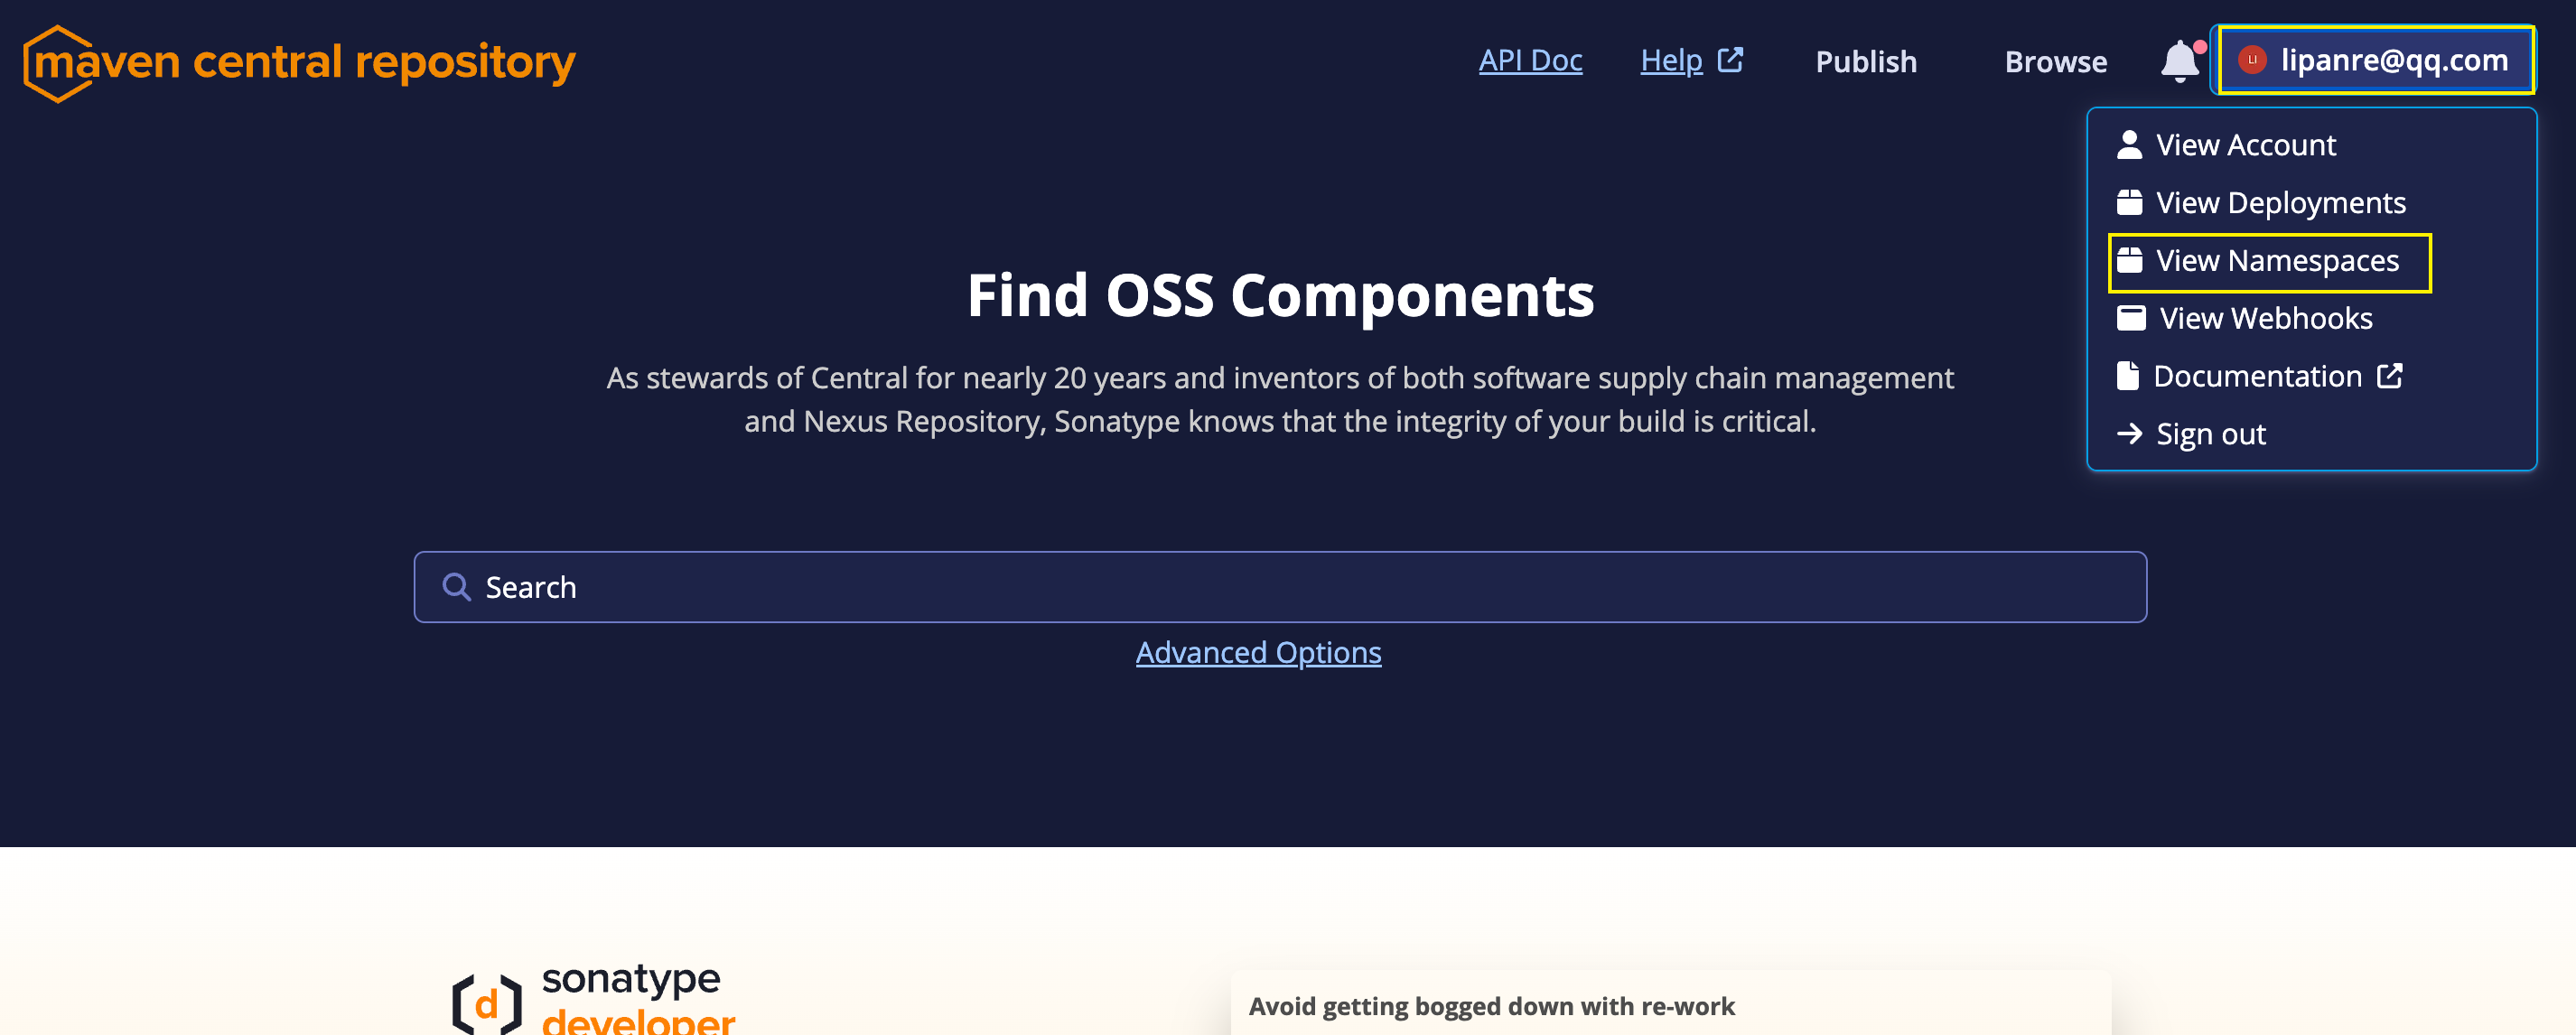
进入到View Namespaces页面之后进行点击Add Namespace创建Namespace
这里的Namespace就是jar包的guopId
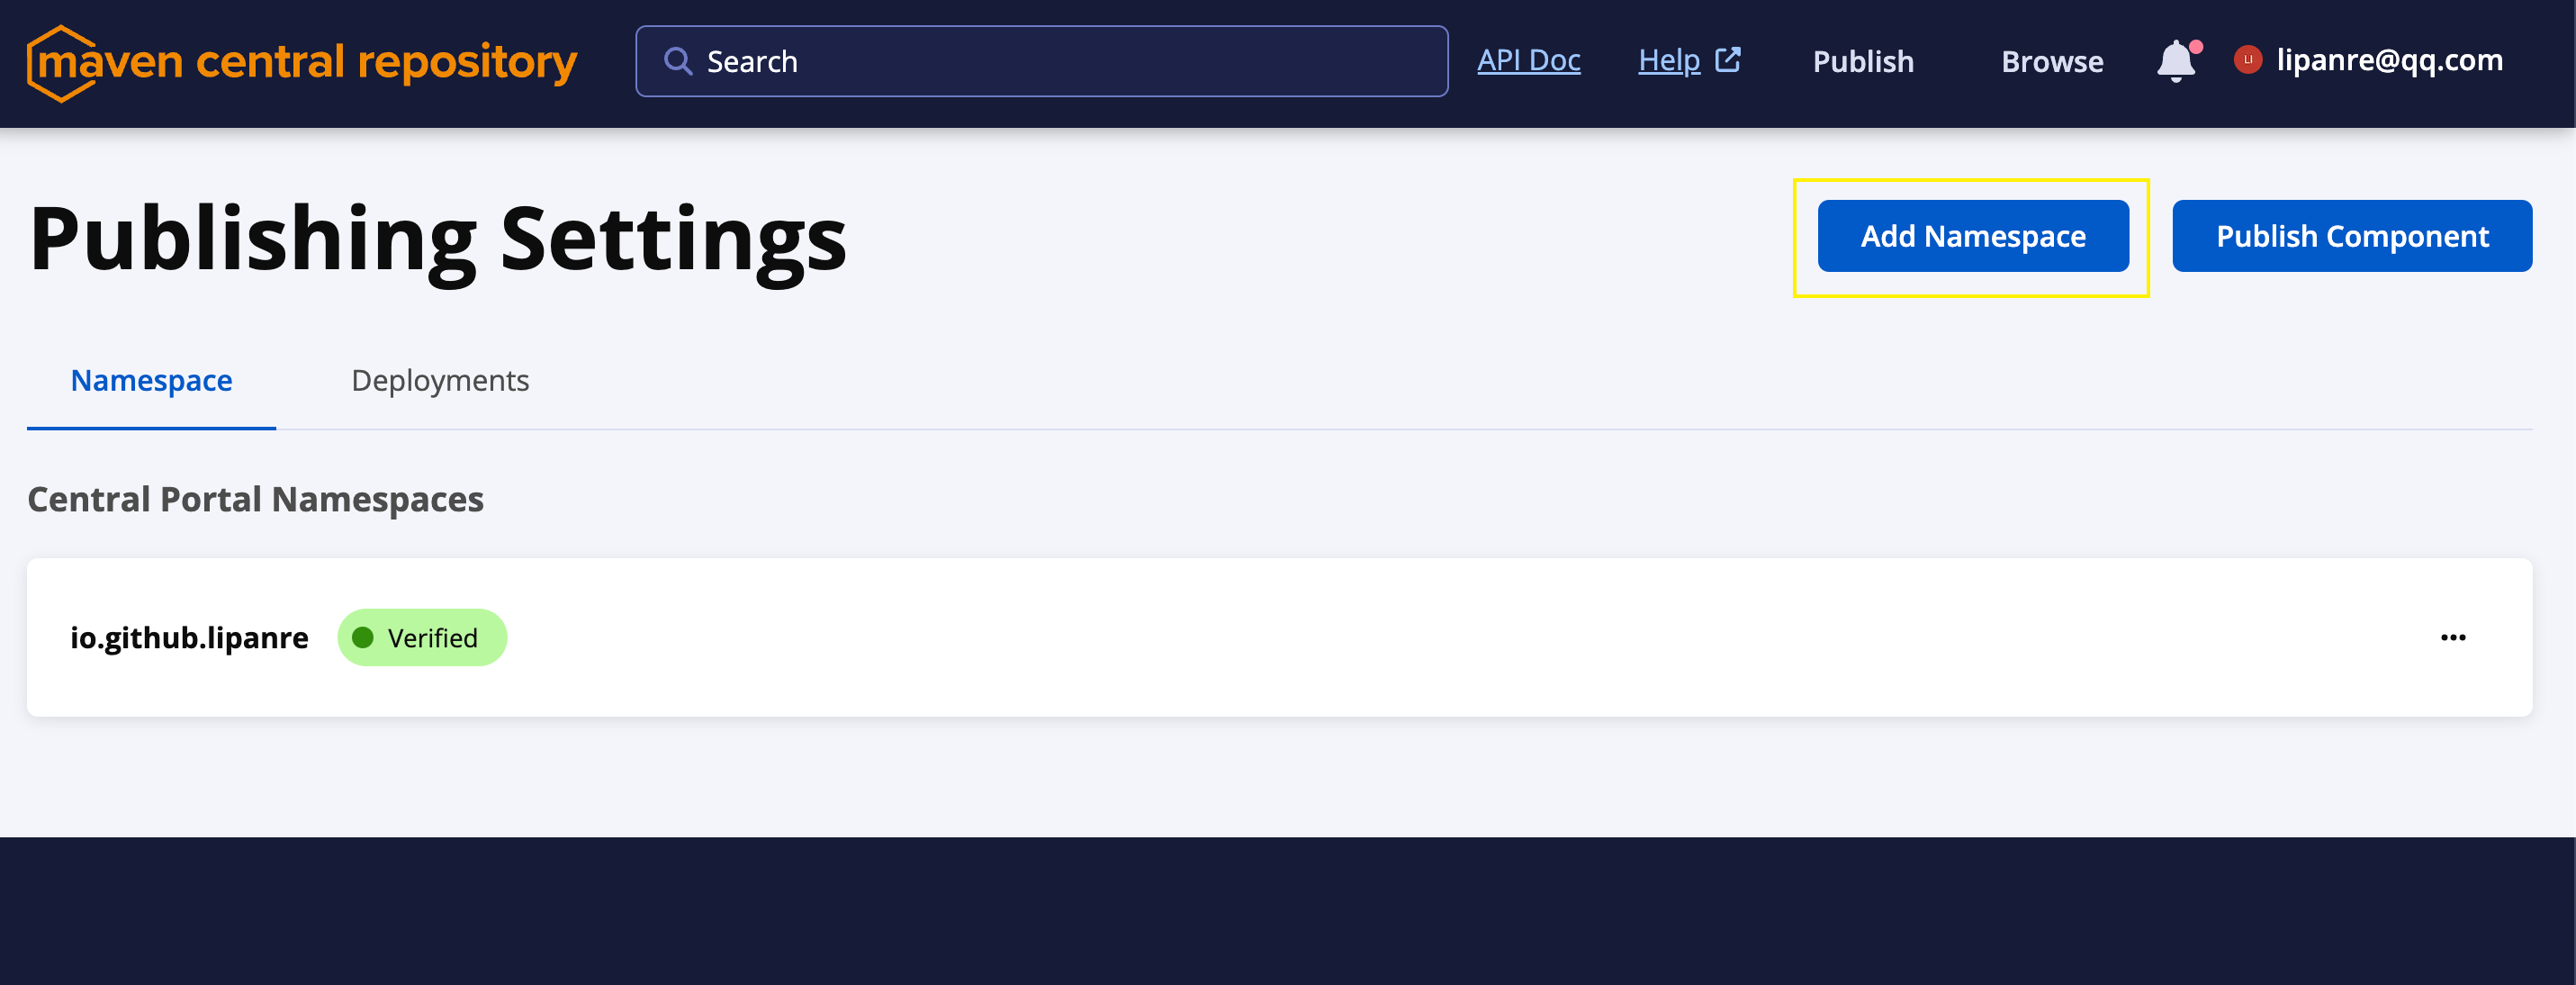
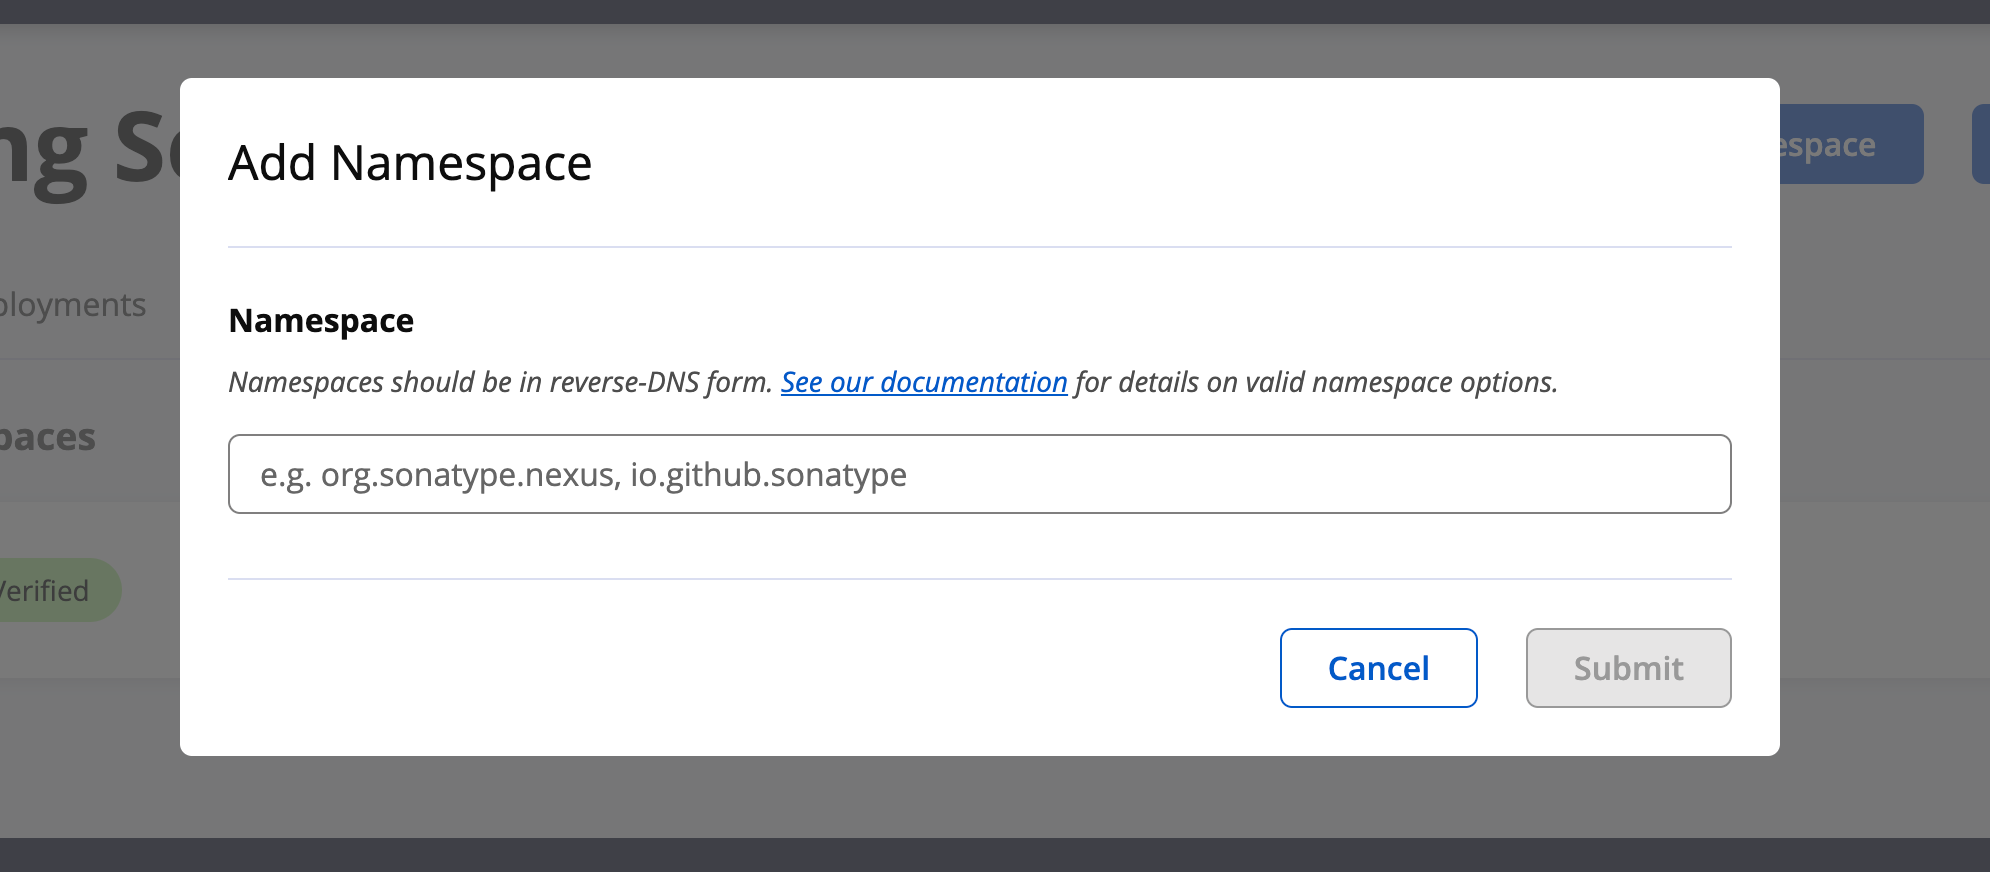
在这里输入你自己的域名,然后按照要求配置一下dns解析
具体内容参考官网文档:https://central.sonatype.org/register/namespace/#by-dns
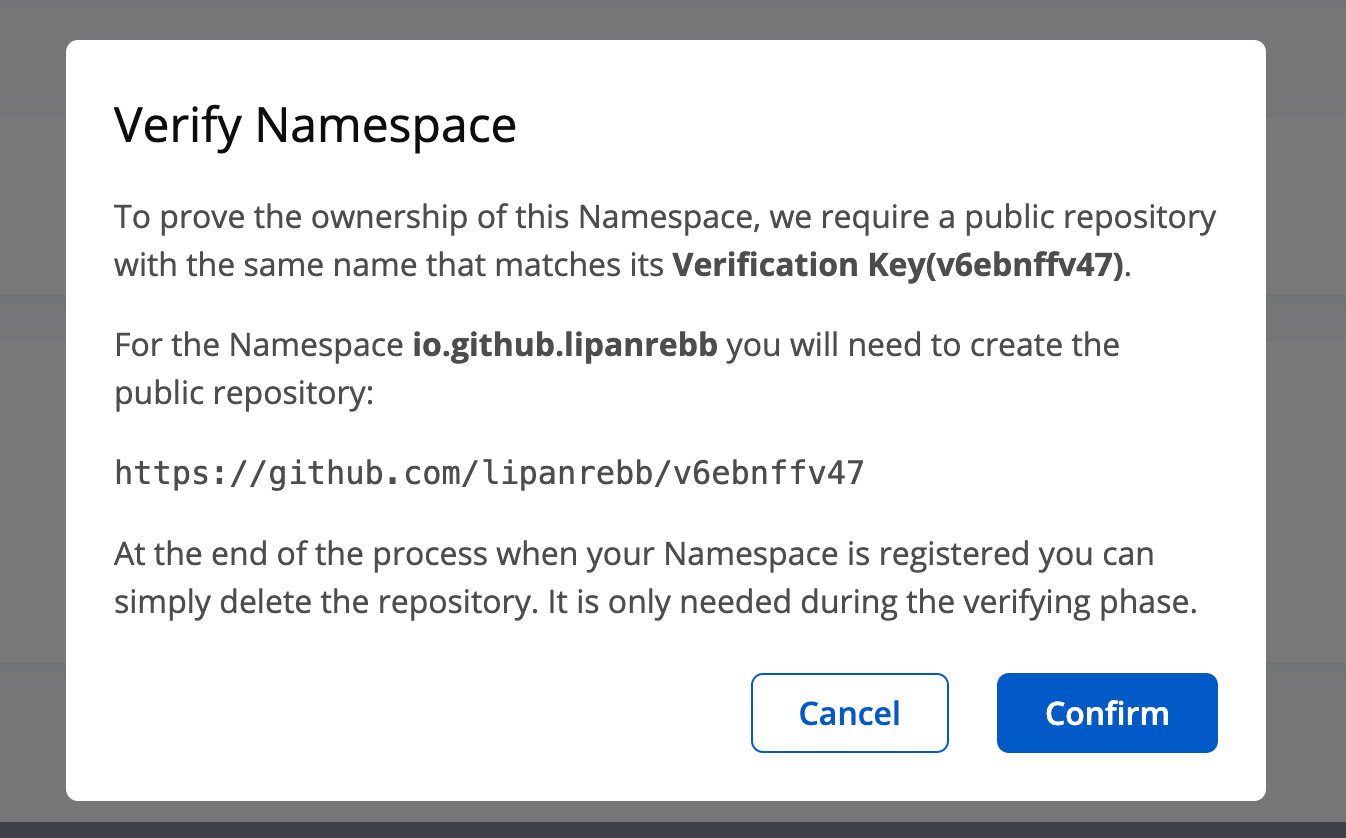
我这里因为没有自己的域名,所以使用的是github, 使用github需要根据要求创建一个指定名字的公开仓库
github的Namespace规则是:io.github.{userName}
{userName}需要替换为自己的github用户名
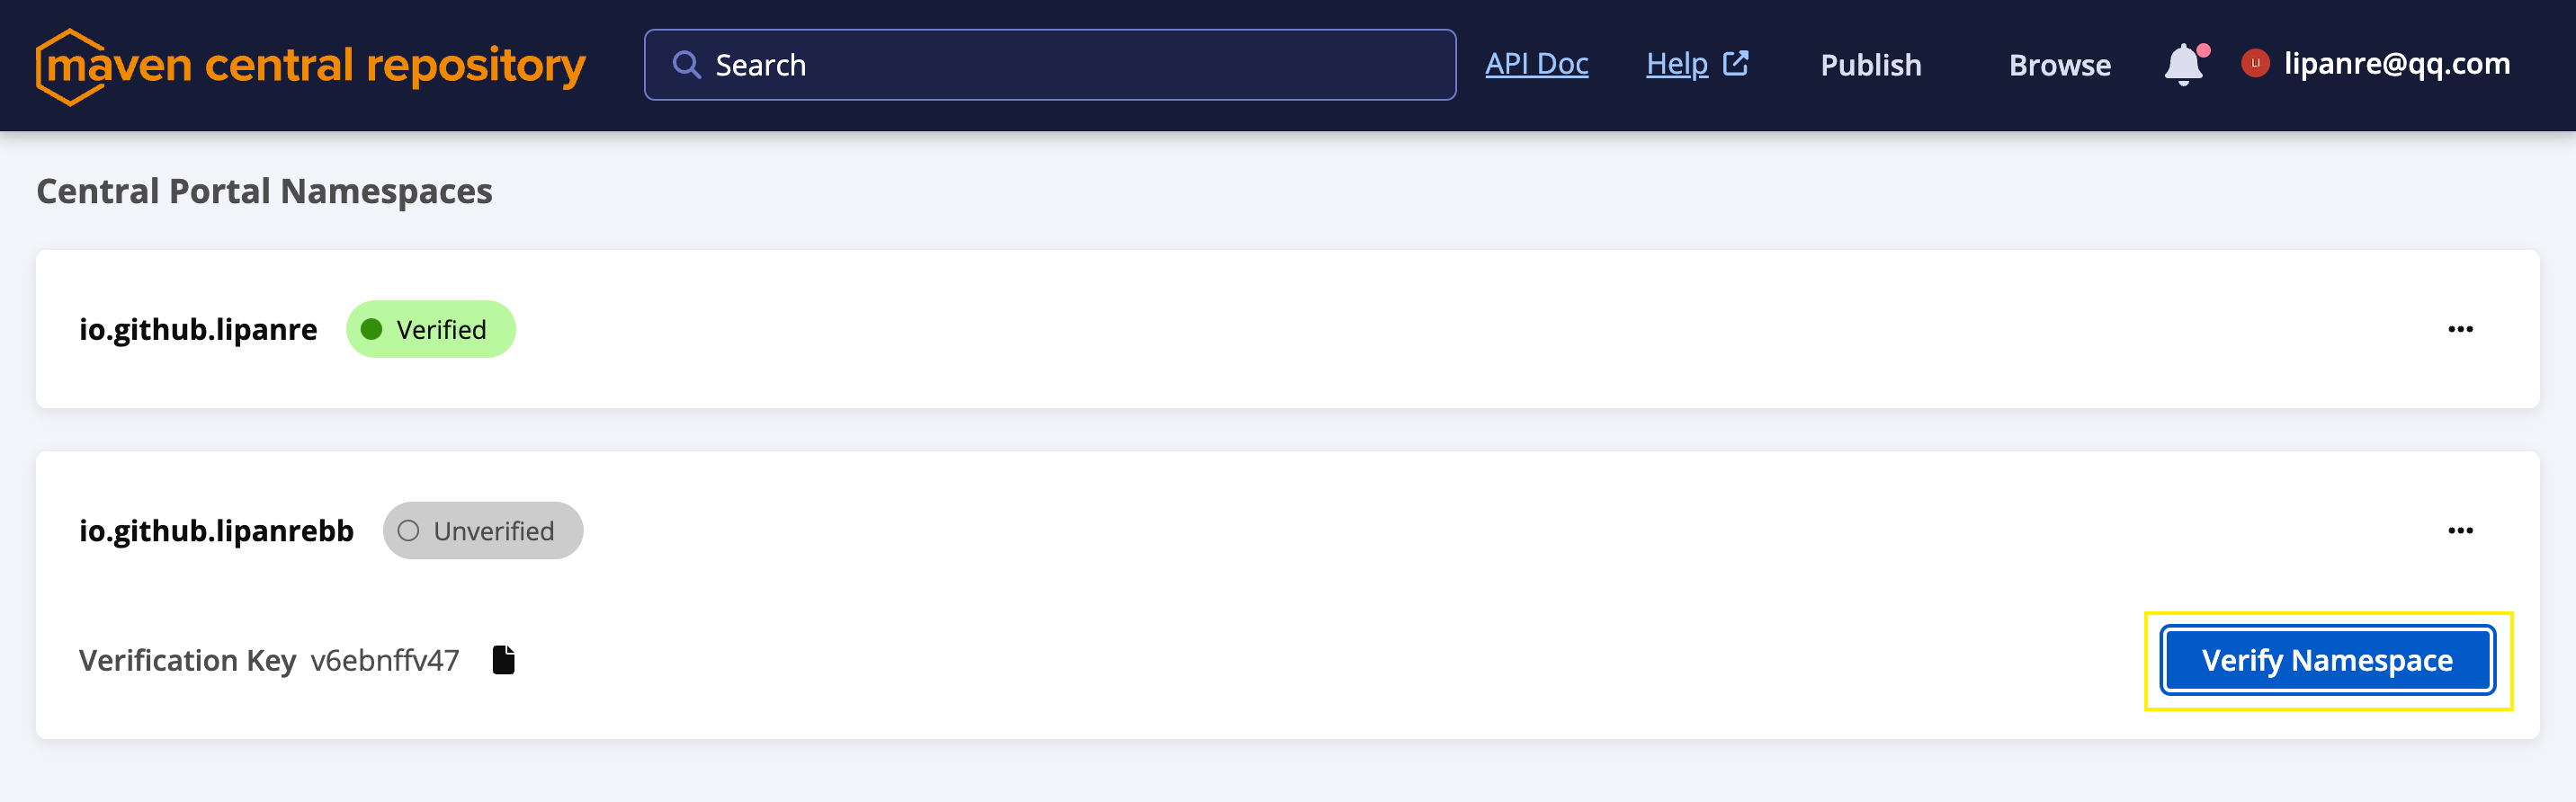
创建好Namespace之后,maven中央仓库需要验证合法性,点击Verify Namespace:
之后会出现如下页面,按照要求配置即可:
到此为止Namespace创建就创建成功了,验证通过之后是这样的:

GPG
发布jar包到maven中央仓库需要利用GPG来进行验证合法性, 所以需要提前生成
打开软件,点击文件->新公钥,创建一对公钥与私钥
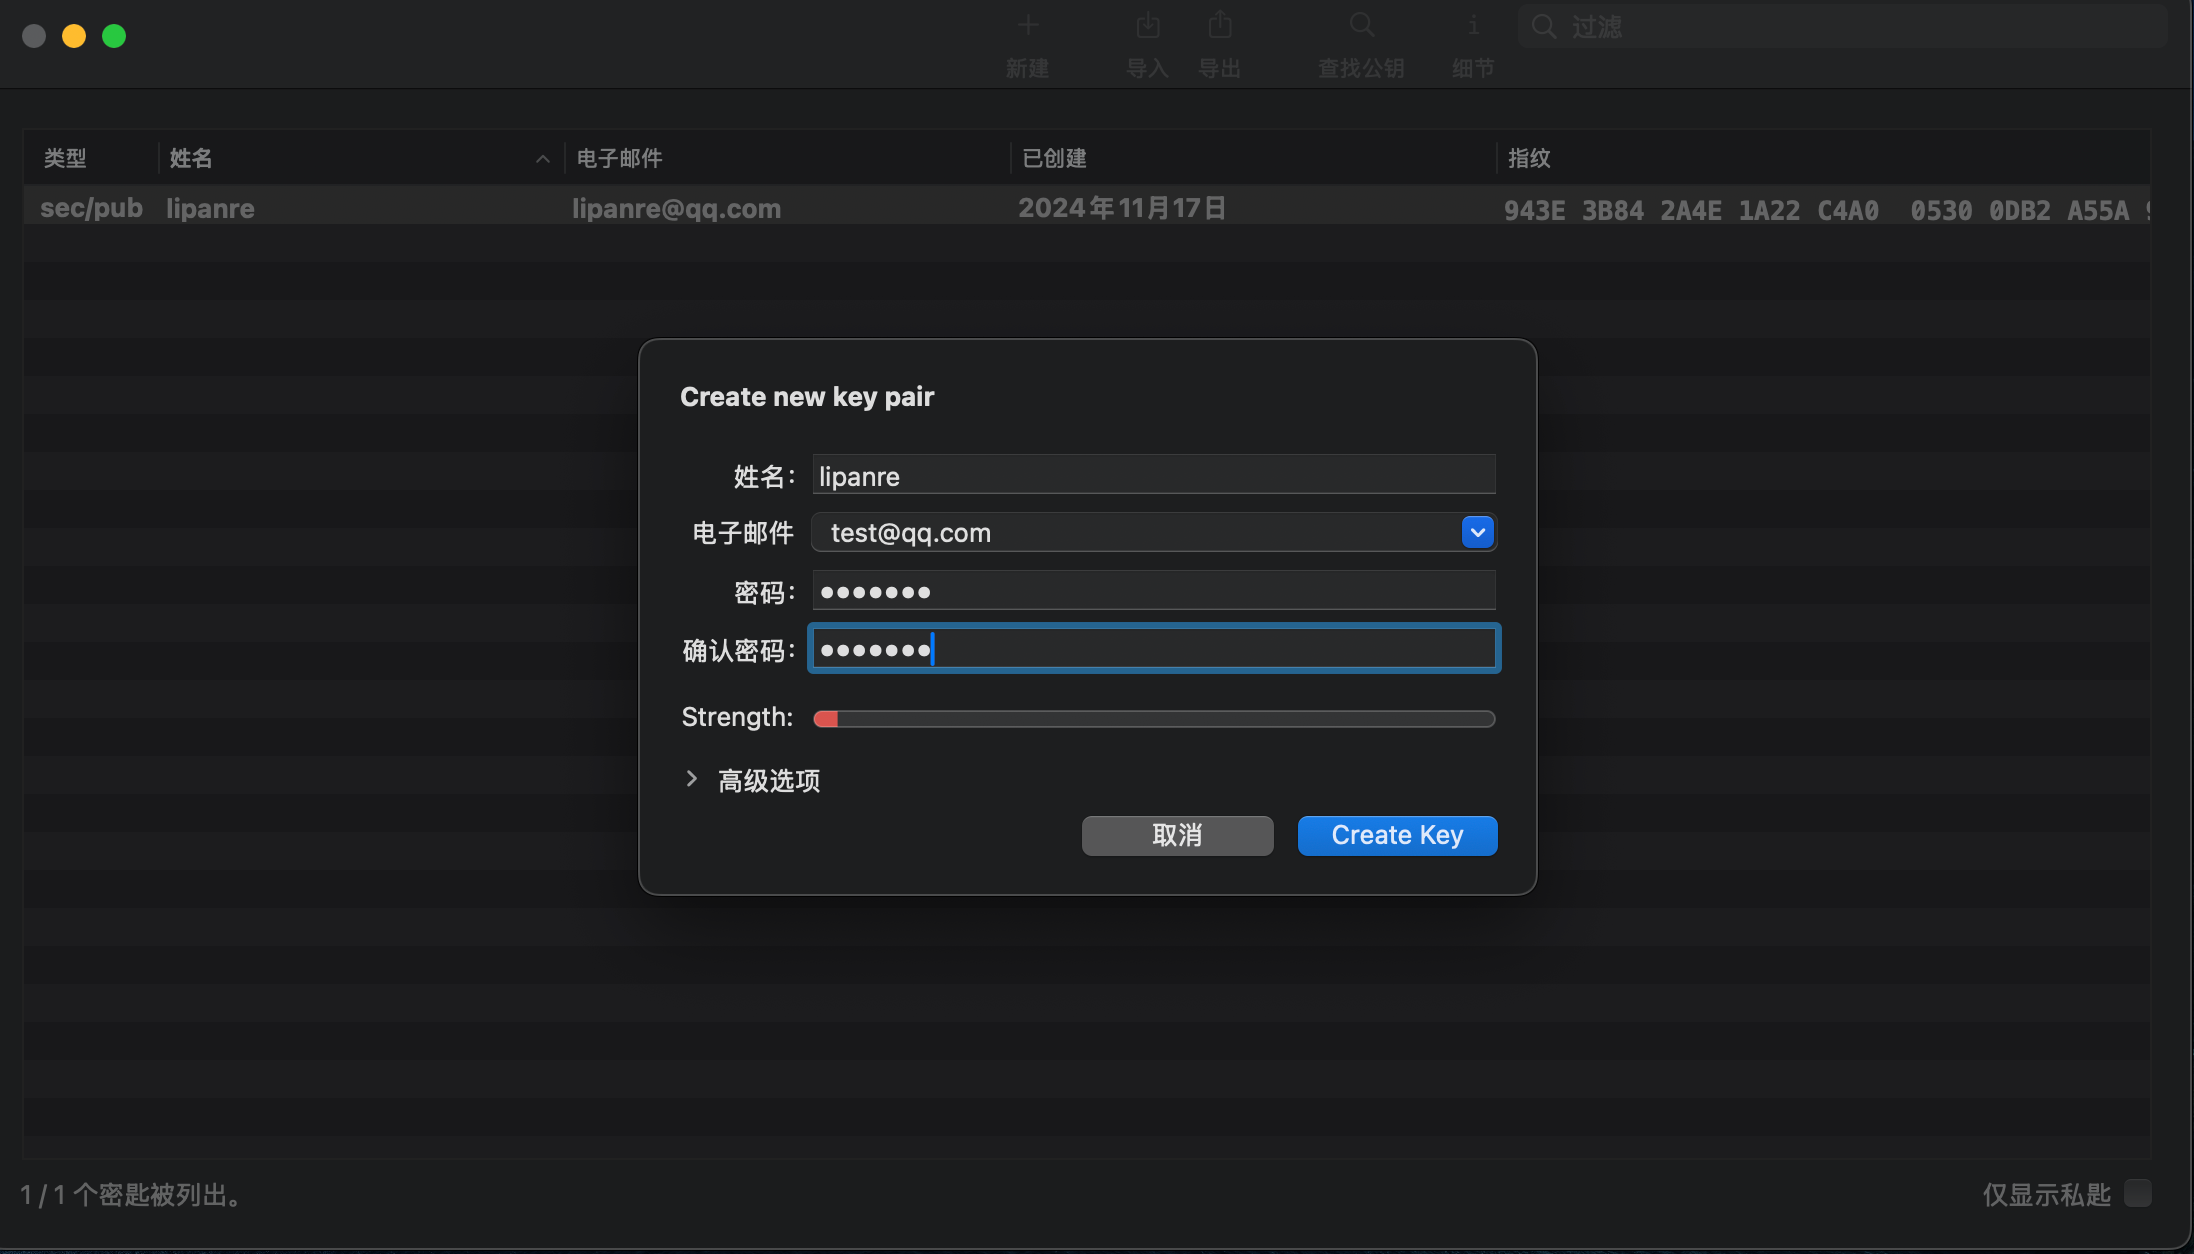
输入对应的信息,密码需要自己记住后面有用
创建好了之后,会提示是否需要将公钥上传
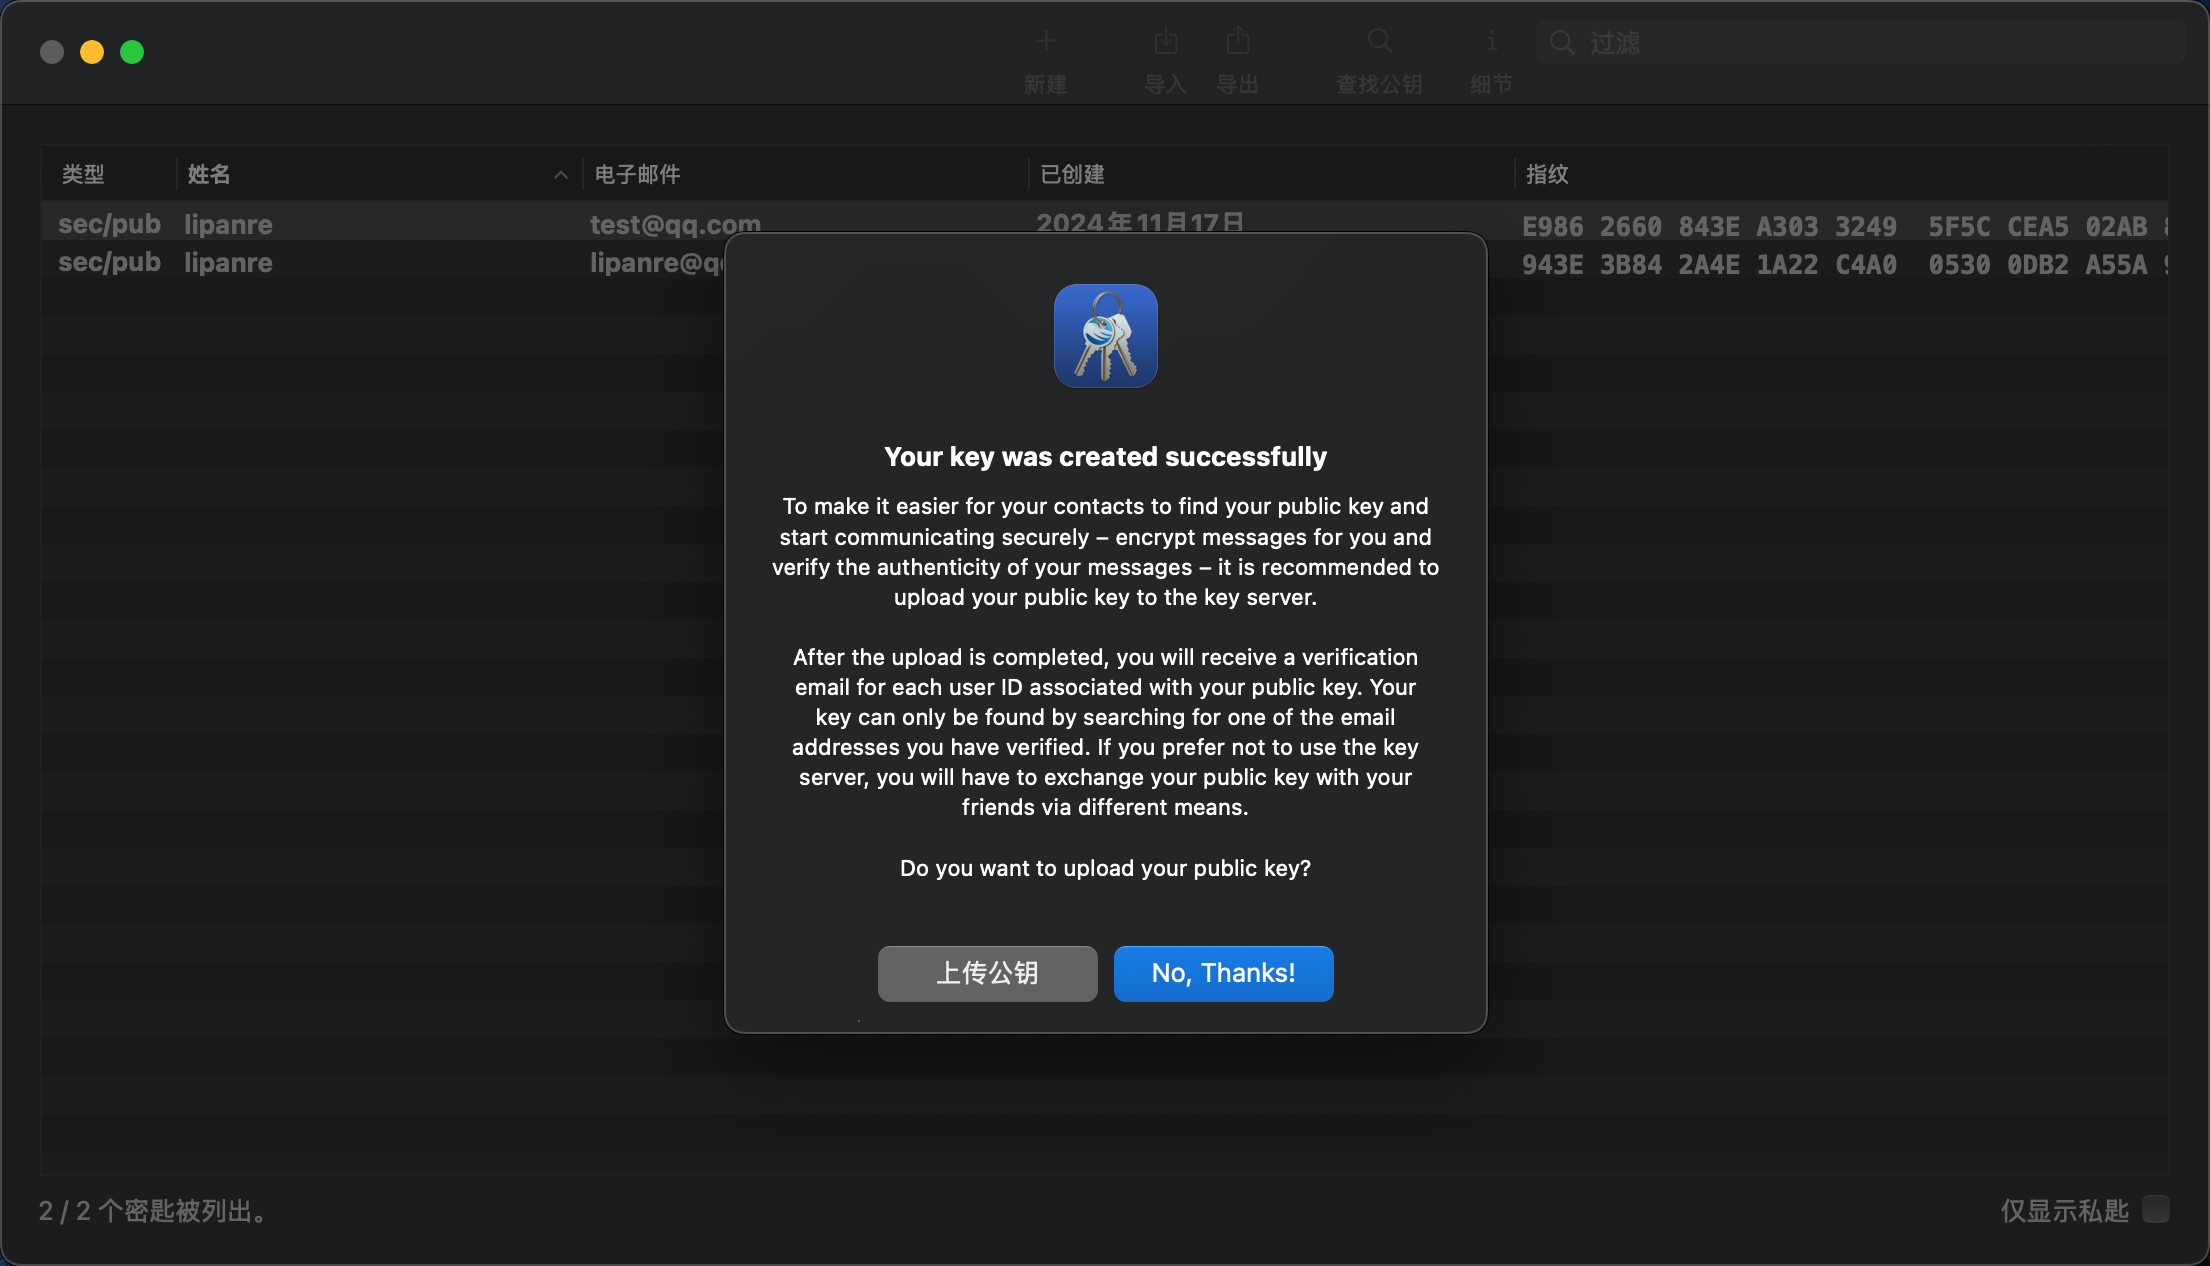
点击上传公钥即可
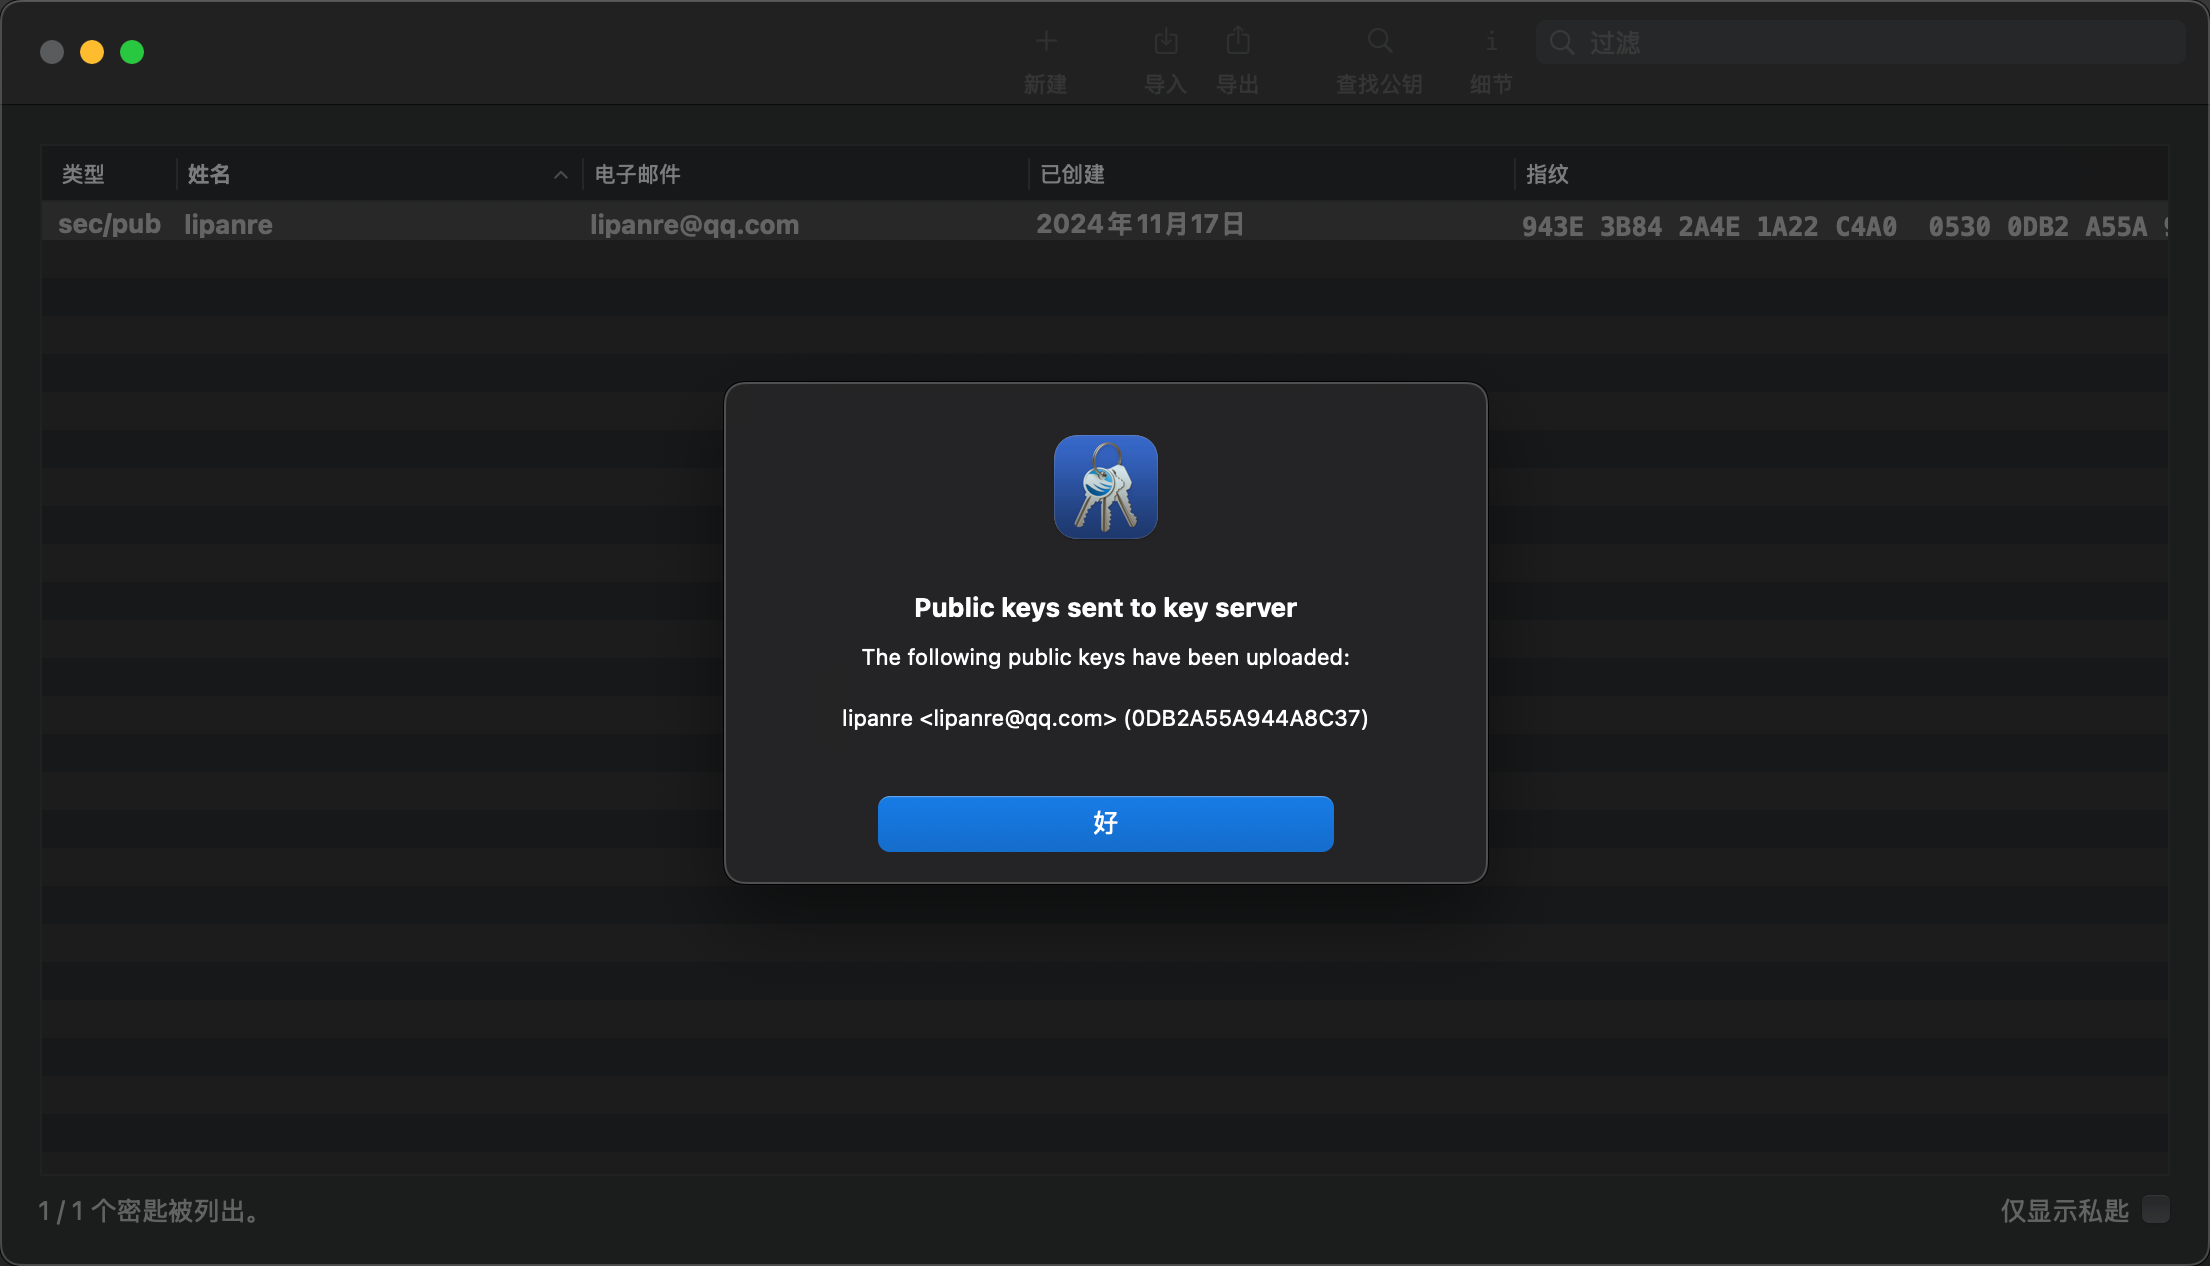
当公钥上传完成之后,前面填写的邮箱将会收到一份邮件,用来验证邮箱
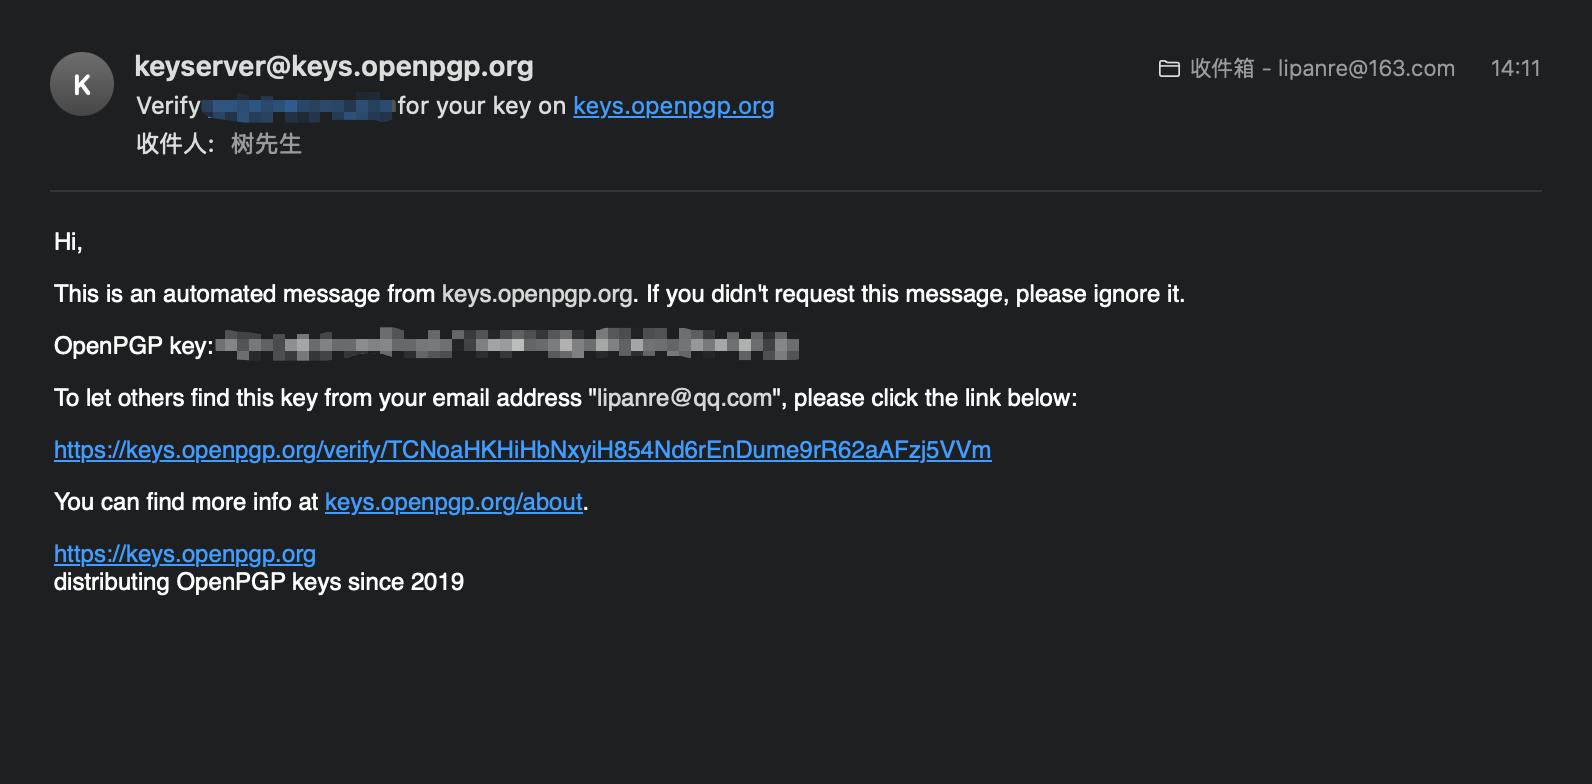
点击链接进行验证即可
生成公钥和私钥pgp文件
因为gradle利用JRealeaser发布jar包时需要使用pgp格式的文件,所以需要导出来
当公钥发布完成之后在命令行从公钥服务器搜索密钥并导入到本地
1
2
3
4
5
6
| gpg --search-keys {前面生成公钥时使用的邮箱}
# 导出私钥,需要输入生成时设置的密码
gpg --output private.pgp --armor --export-secret-key {前面生成公钥时使用的邮箱}
# 导出公钥
gpg --output public.pgp --armor --export {前面生成公钥时使用的邮箱}
|
Gradle配置
1
2
3
4
5
6
7
8
9
10
11
12
13
14
15
16
17
18
19
20
21
22
23
24
25
26
27
28
29
30
31
32
33
34
35
36
37
38
39
40
41
42
43
44
45
46
47
48
49
50
51
52
53
54
55
56
57
58
59
60
61
62
63
64
65
66
67
68
69
70
71
72
73
74
75
76
77
78
79
80
81
82
83
84
85
86
87
88
89
| plugins {
`java-library`
`maven-publish`
id("org.jreleaser") version "1.15.0"
}
repositories {
mavenLocal()
maven { setUrl("https://maven.aliyun.com/repository/public/") }
maven { setUrl("https://plugins.gradle.org/m2/") }
mavenCentral()
}
java {
withJavadocJar()
withSourcesJar()
}
tasks.javadoc {
options.encoding="utf-8"
}
group = "io.github.lipanre"
version = "1.0"
publishing {
publications {
register<MavenPublication>("mavenJava") {
groupId = project.group.toString()
artifactId = "maven-test"
version = "1.0"
from(components["java"])
pom {
name = "maven-test"
description = "test deploy jar to maven central"
url = "https://github.com/lipanre/maven-central-test"
inceptionYear = "2024"
licenses {
license {
name = "Apache-2.0"
url = "https://github.com/lipanre/maven-central-test"
}
developers {
developer {
id = "lipanre"
name = "lipanre"
}
}
scm {
connection = "scm:git:https://github.com/lipanre/maven-central-test.git"
developerConnection = "scm:git:https://github.com/lipanre/maven-central-test.git"
url = "https://github.com/lipanre/maven-central-test"
}
}
}
}
}
repositories {
maven {
url = uri(layout.buildDirectory.dir("staging-deploy"))
}
}
}
jreleaser {
signing {
setActive("ALWAYS")
armored.set(true)
setMode("FILE")
publicKey = "/path/to/public.pgp"
secretKey = "/path/to/private.pgp"
}
deploy {
maven {
mavenCentral {
register("sonatype") {
setActive("ALWAYS")
url = "https://central.sonatype.com/api/v1/publisher"
stagingRepository("build/staging-deploy")
}
}
}
}
}
|
JReleaser配置
文件名:config.toml
文件位置:~/.jreleaser/
1
2
3
4
| JRELEASER_MAVENCENTRAL_USERNAME = "{maven中央仓库用户名}"
JRELEASER_MAVENCENTRAL_PASSWORD = "{maven中央仓库密码}"
JRELEASER_GPG_PASSPHRASE = "{生成公钥时设置的密码}"
JRELEASER_GITHUB_TOKEN = "{github token}"
|
maven中央仓库用户名密码获取
进入maven中央仓库官网点击View Account
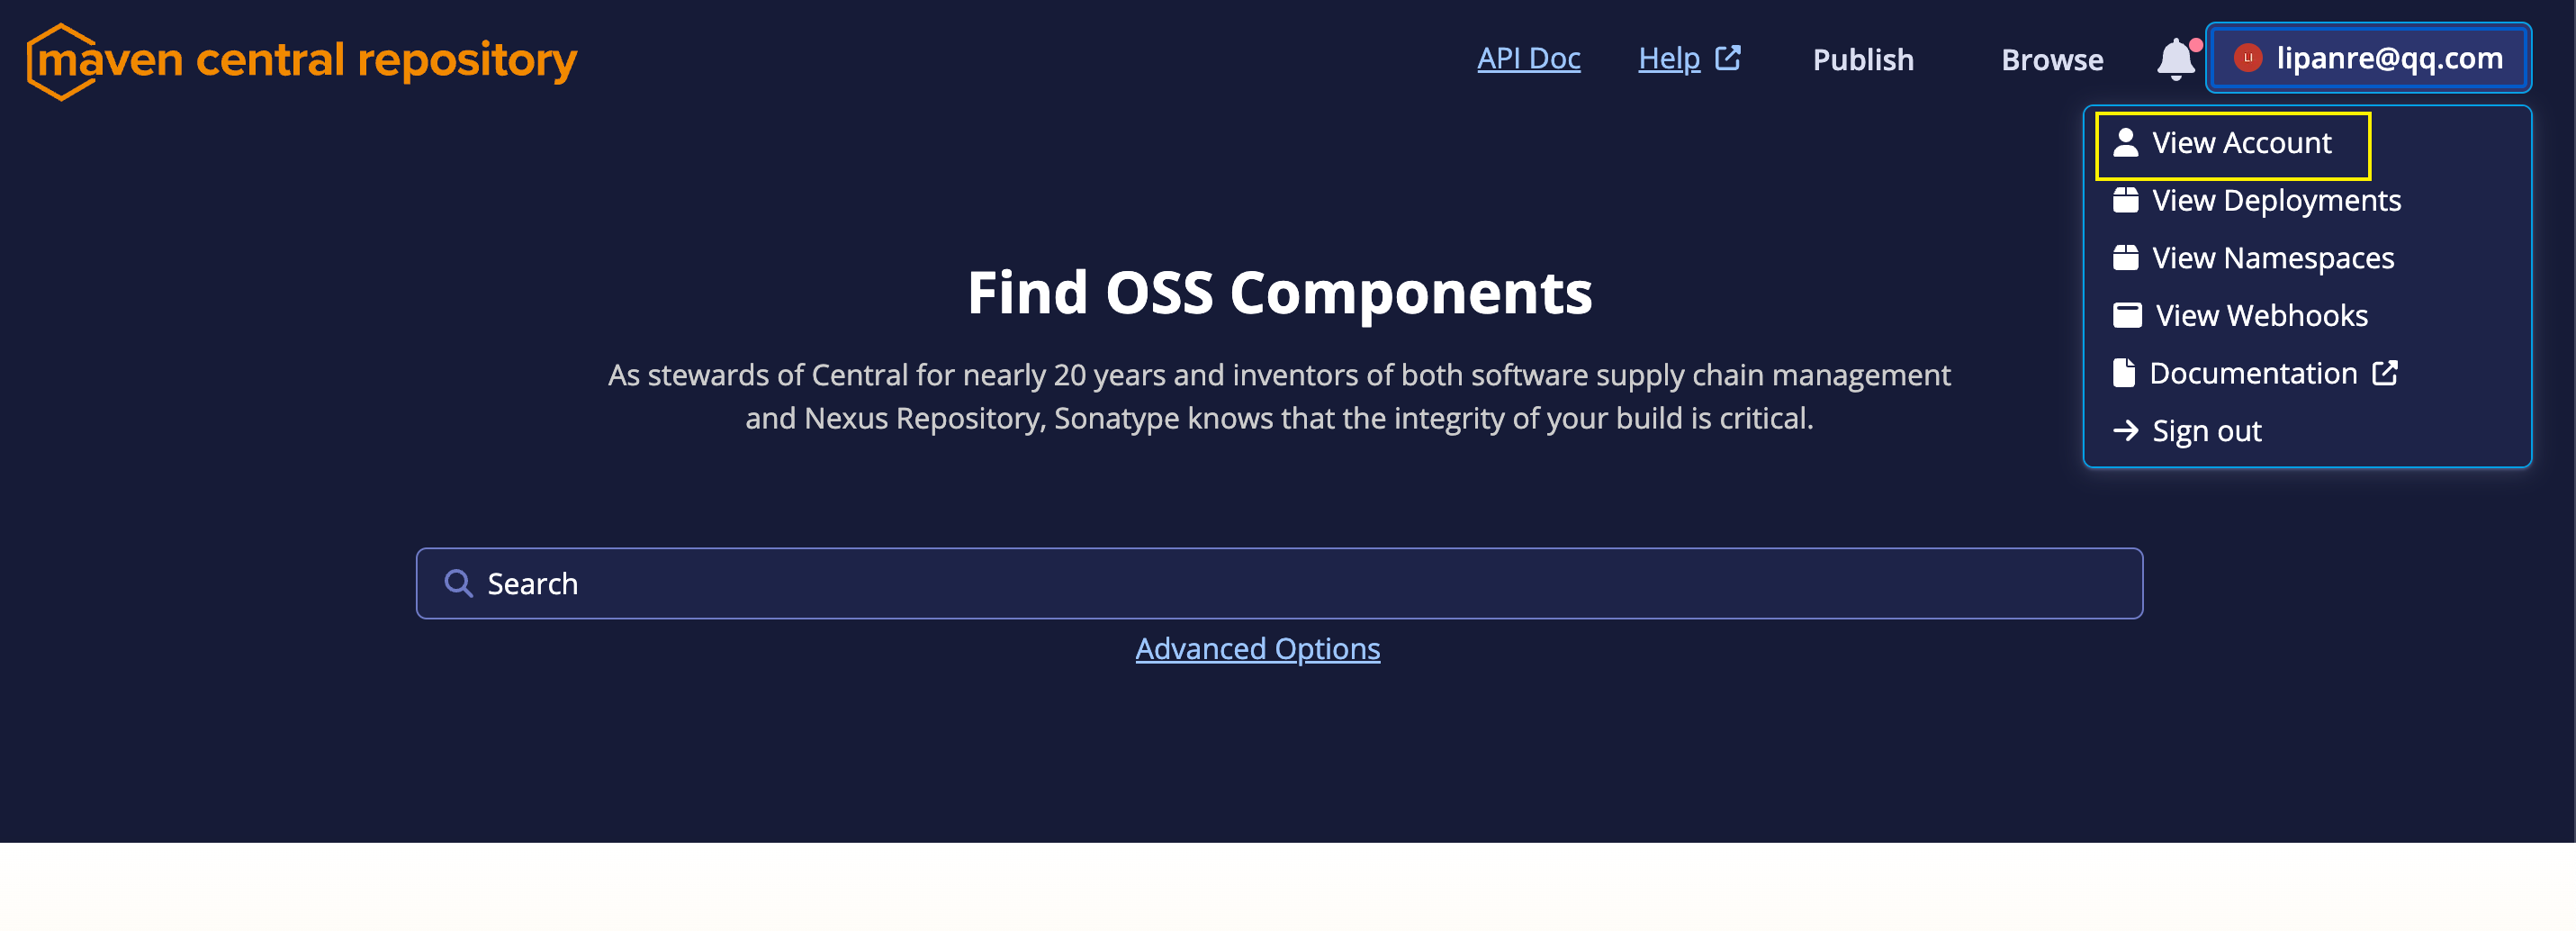
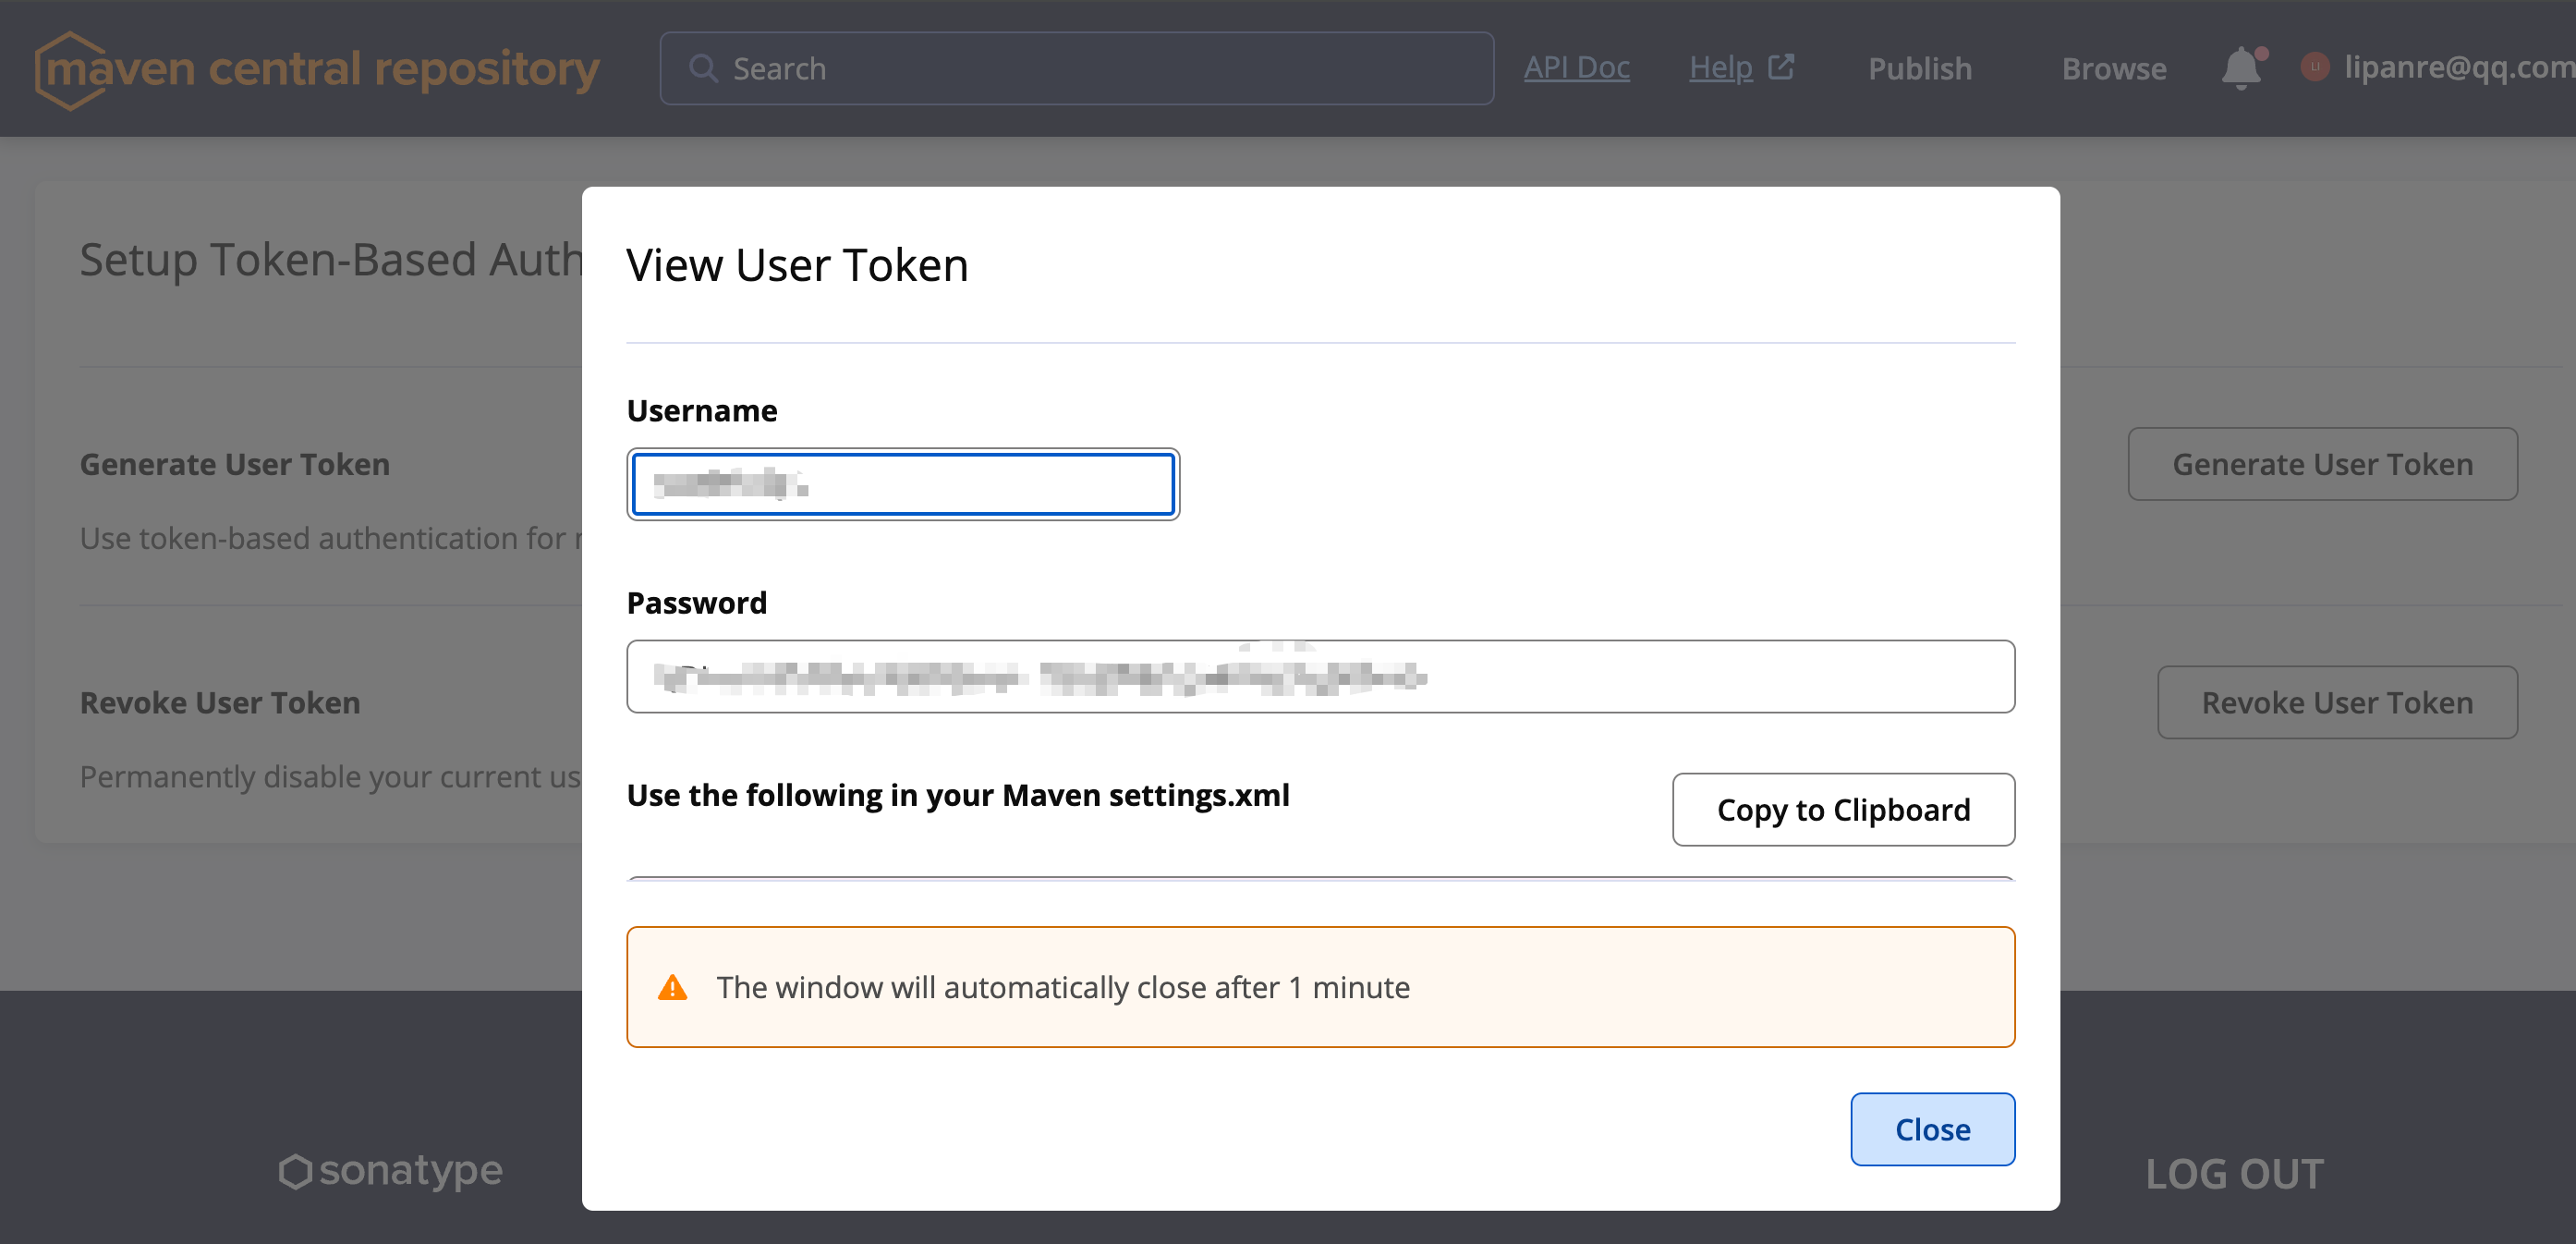
进入View Account页面后,点击Generate User Token
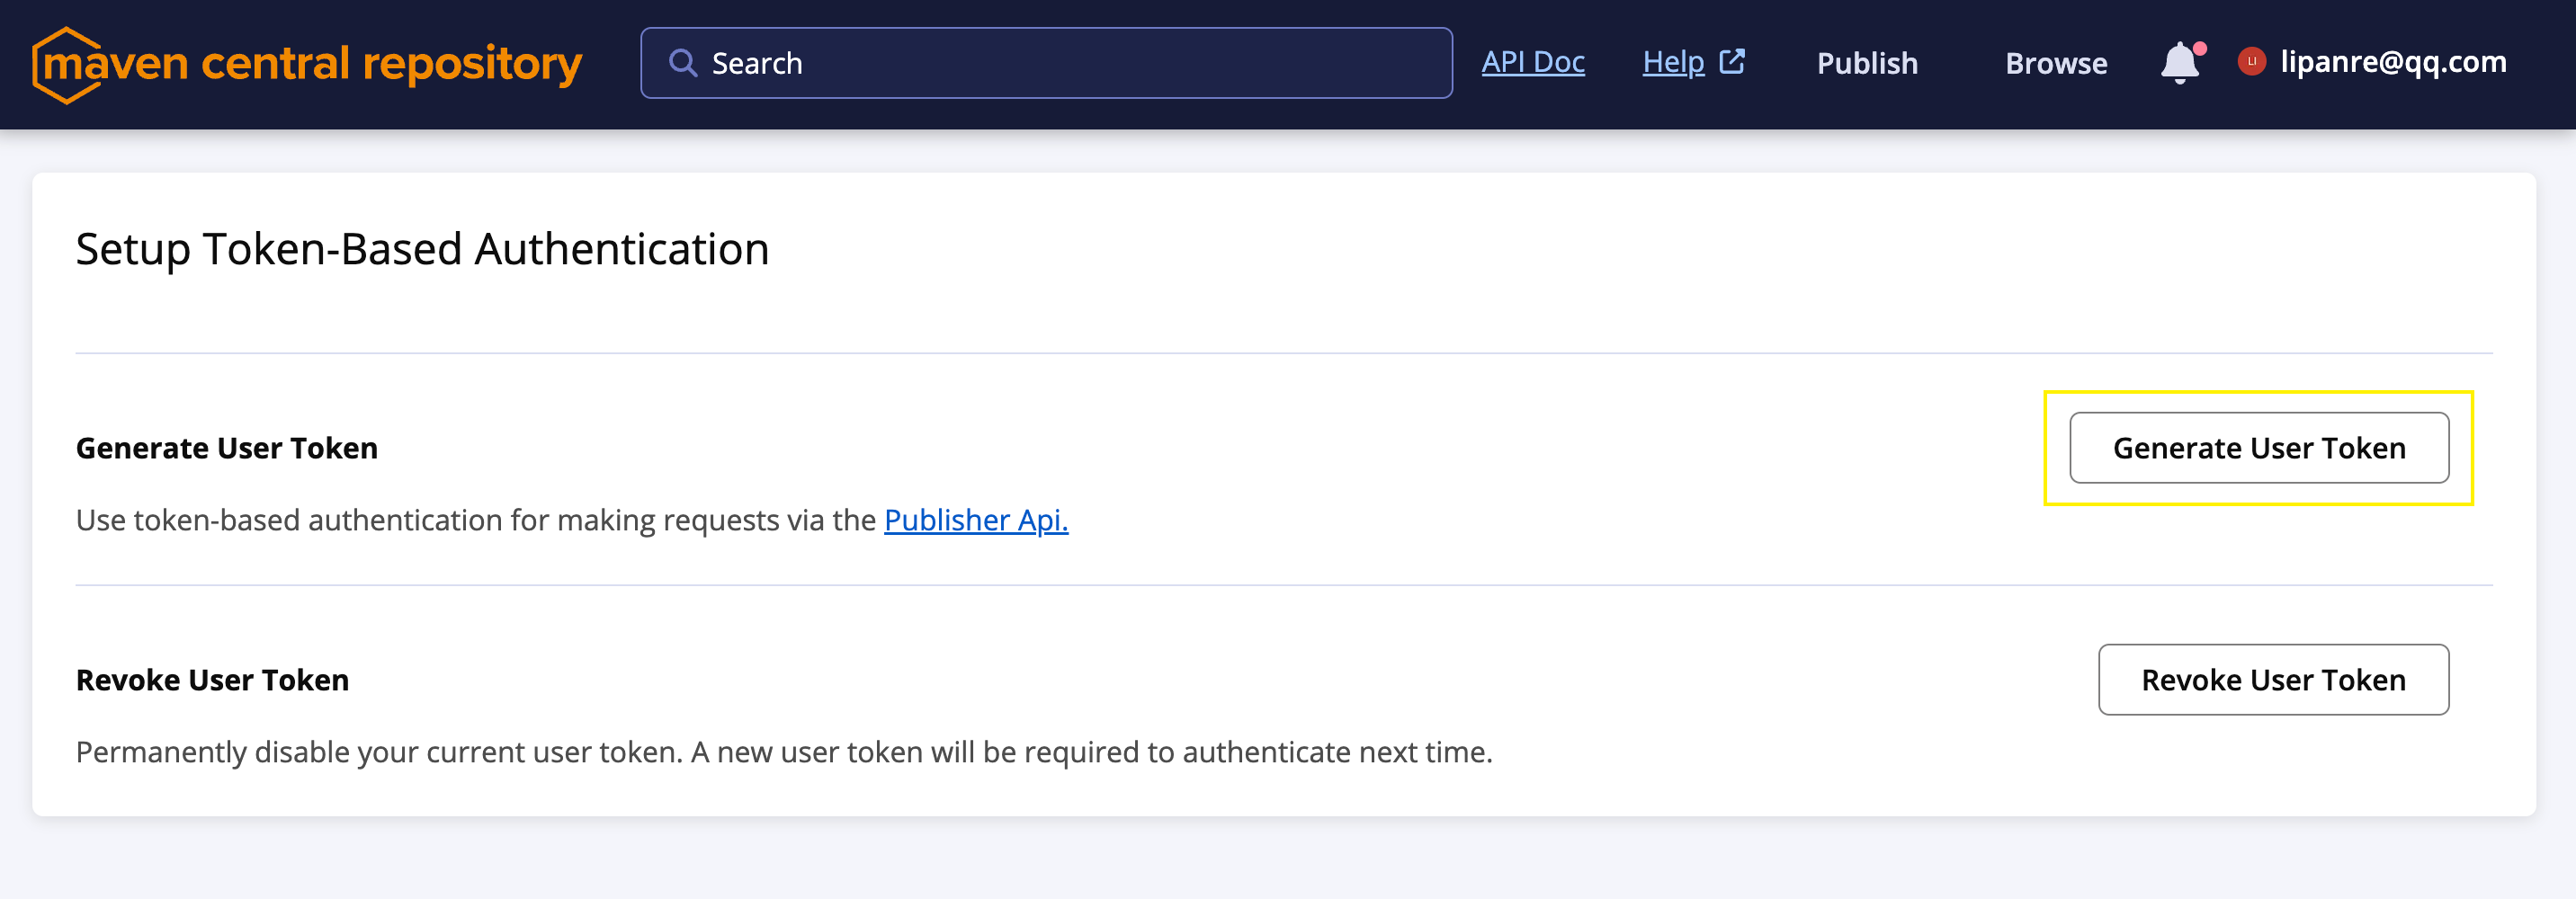
生成用户名和密码
GitHub token获取
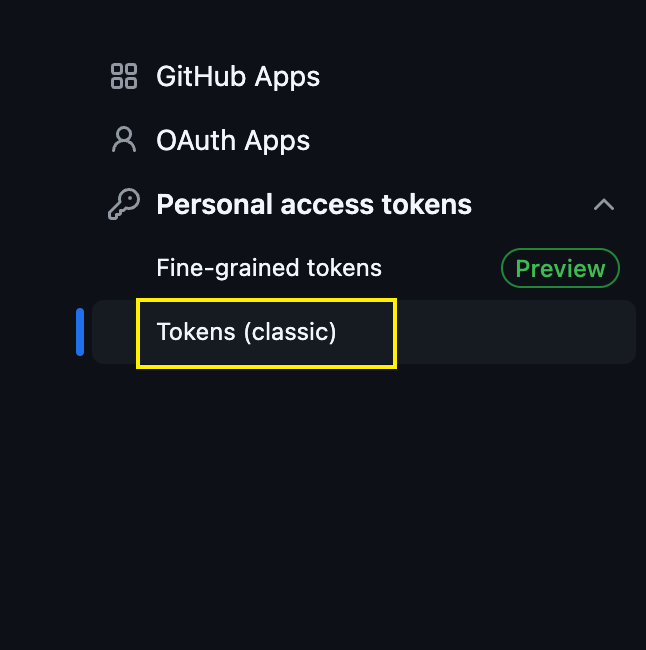
进入github的settings页面的Developer Settings
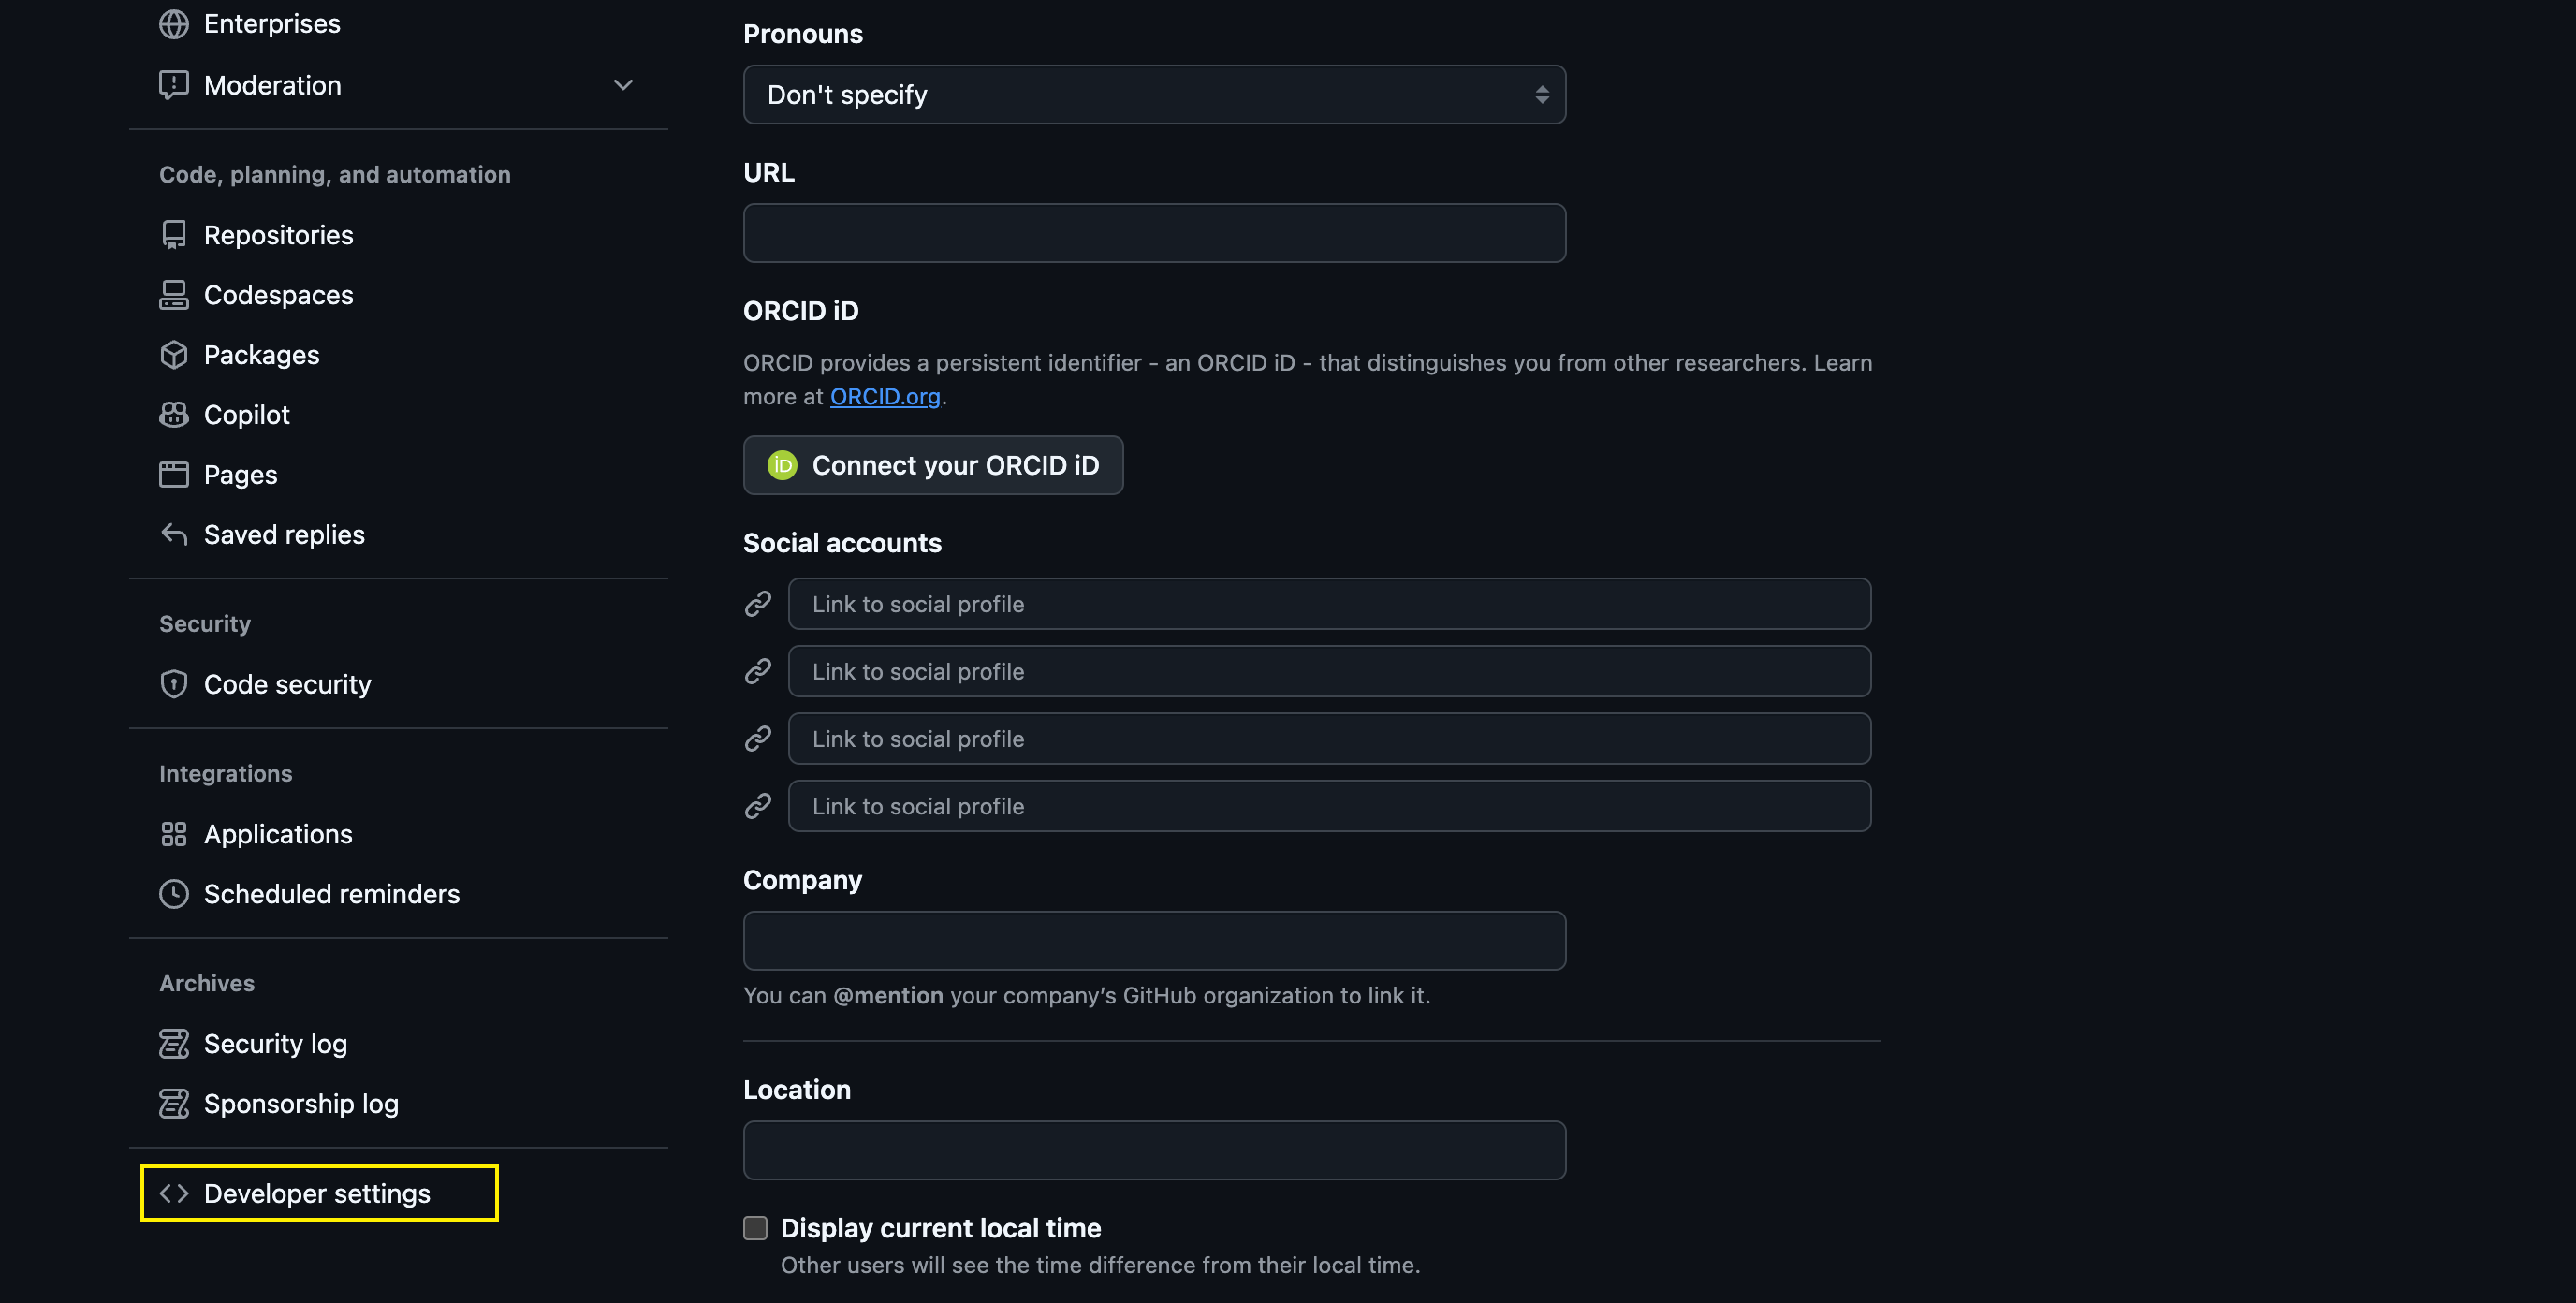
然后点击Personal access tokens > Tokens进行生成一个token
发布
执行以下命令:
1
2
| gradle clean publish
gradle jreleaserConfig jreleaserFullRelease
|
参考文章